Printer templates tab
In the Material Management > Configuration > Printer Templates tab, the printer templates that are used for printing labels in the Material Monitoring process can be configured. A printer template contains the ZPL commands which are sent to a Zebra printer when printing the label. The ZPL commands are uploaded as a file when creating or editing a printer template. The template file can contain template variables (placeholders) which are replaced with values from the monitoring process before sending the ZPL commands to the printer. The set Time Zone determines the time zone in which the dates and times are printed on the label. The Language Code determines the language in which localized date and time components like StartMonth are printed on the label.
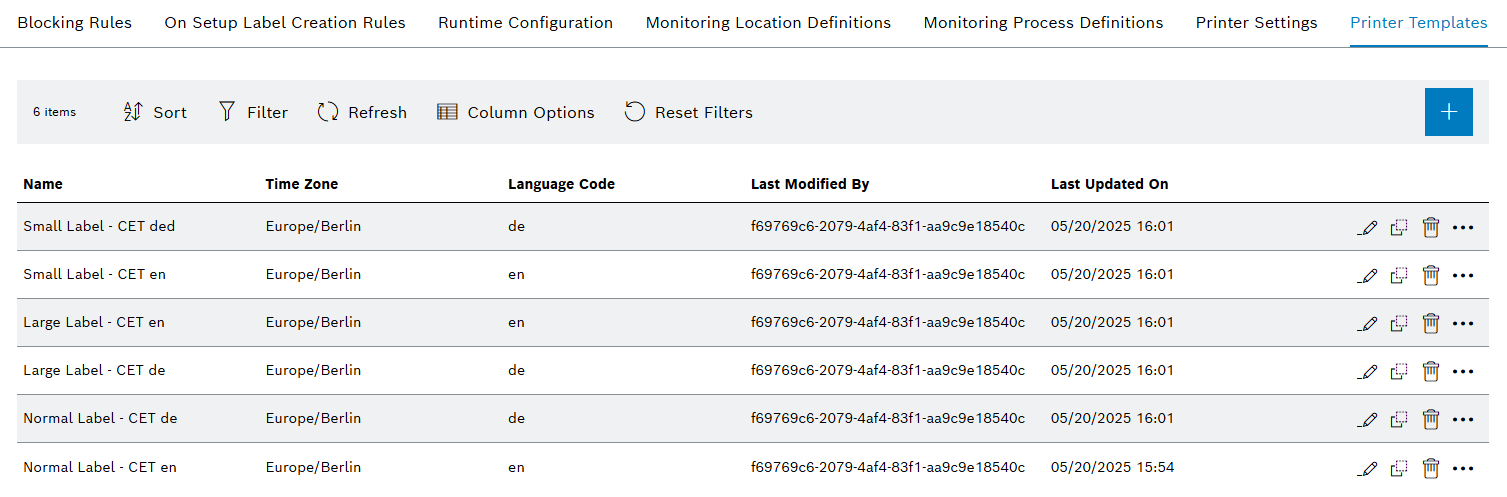
Printer Templates
| Element | Description |
|---|---|
Name |
The name of the printer template |
Time Zone |
The target time zone for template variables |
Language Code |
The target language for localized template variables |
Last Modified By |
|
Last Updated On |
|
|
|
|
|
|
|
|
Printer template file and template variables
The printer template file can contain any ZPL commands to describe the label layout. The template file must be a valid .prn or .zpl file. The template file is uploaded when creating or editing a printer template.
For descriptions of the template variables for Solder Paste Monitoring refer to Solder Paste Monitoring - Printer Template Variables.
For an example template file for Solder Paste Monitoring refer to Solder Paste Monitoring - Example Template File.
|
Any dates and times calculated in the monitoring process are converted to the time zone which is selected the printer template. Localized template variables are localized to the language code which is set in the printer template. |
Create printer template
|
If no timezone is set, the local timezone which is set on the server is used. If no language code is set, the default language which is set on the server is used. |
Prerequisite
MaterialManagement Administrator role
Procedure
-
Open the Material Management > Configuration menu entry.
-
Click on the Printer Templates tab.
-
Click on
 to create a new printer template.
The Create Printer Template dialog window is displayed.
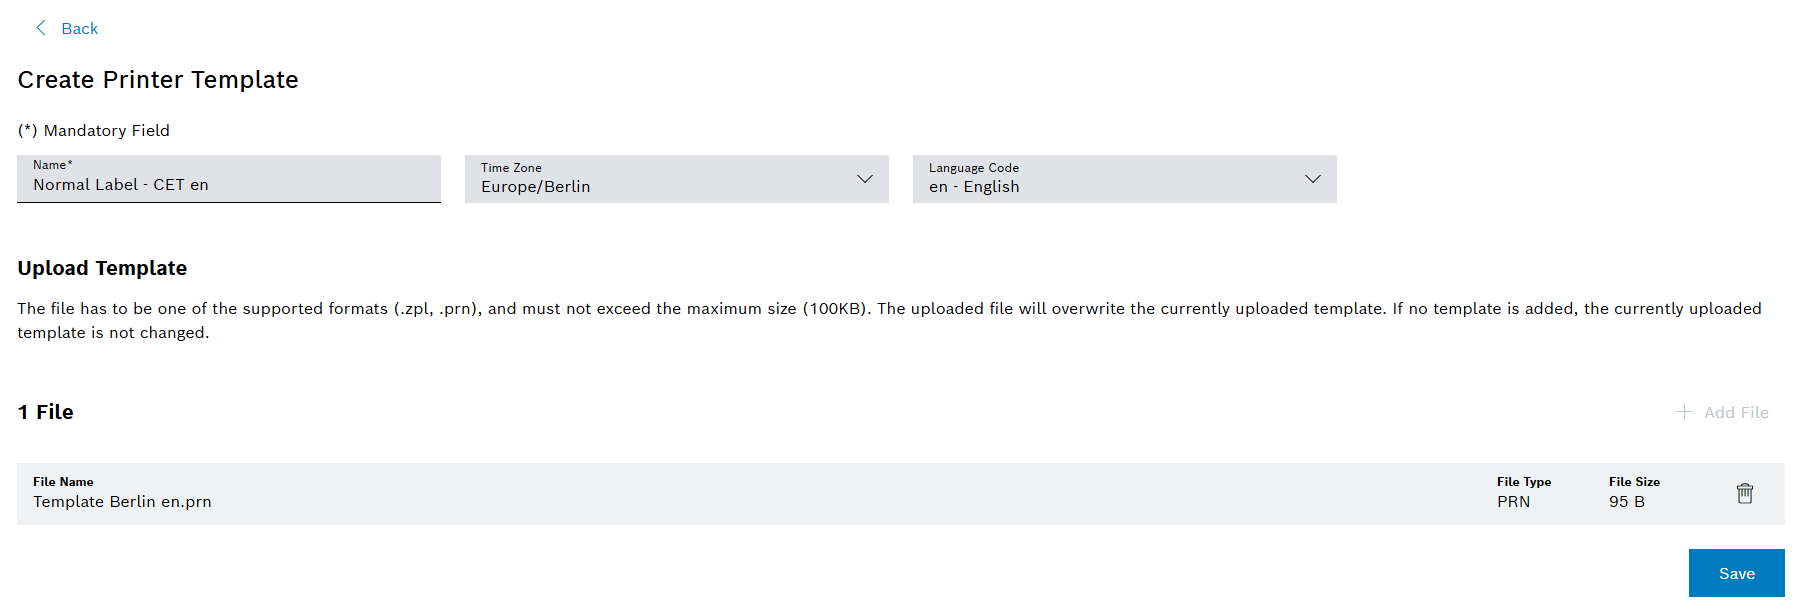
-
Enter the desired data.
-
Click on
 Add File and upload your printer template file.
 -
Confirm with Save.
The printer template is displayed in the Printer Templates tab.
Edit printer template
Prerequisite
MaterialManagement Administrator role
Procedure
-
Open the Material Management > Configuration menu entry.
-
Click on the Printer Templates tab.
-
Click on
 in the row of the desired printer template.
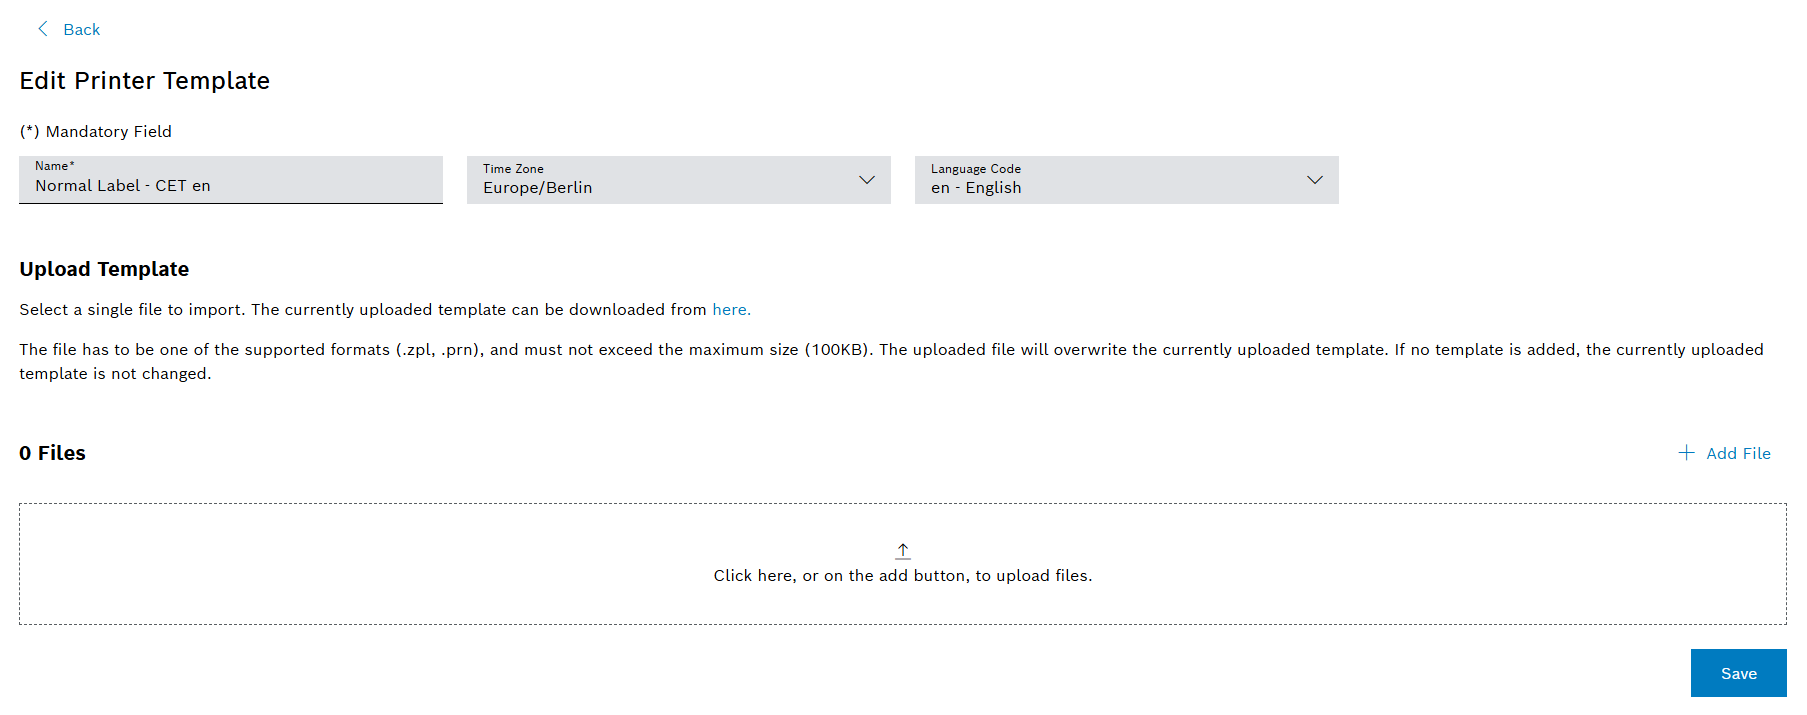
-
Enter the desired data.
-
Click on
Add File to upload a new printer template file. If no new template file is uploaded, the existing template file is kept. -
Confirm with Save.
The edited printer template is displayed in the Printer Templates tab.
Clone printer template
Prerequisite
MaterialManagement Administrator role
Procedure
-
Open the Material Management > Configuration menu entry.
-
Click on the Printer Templates tab.
-
Click on
 in the row of the desired printer template.
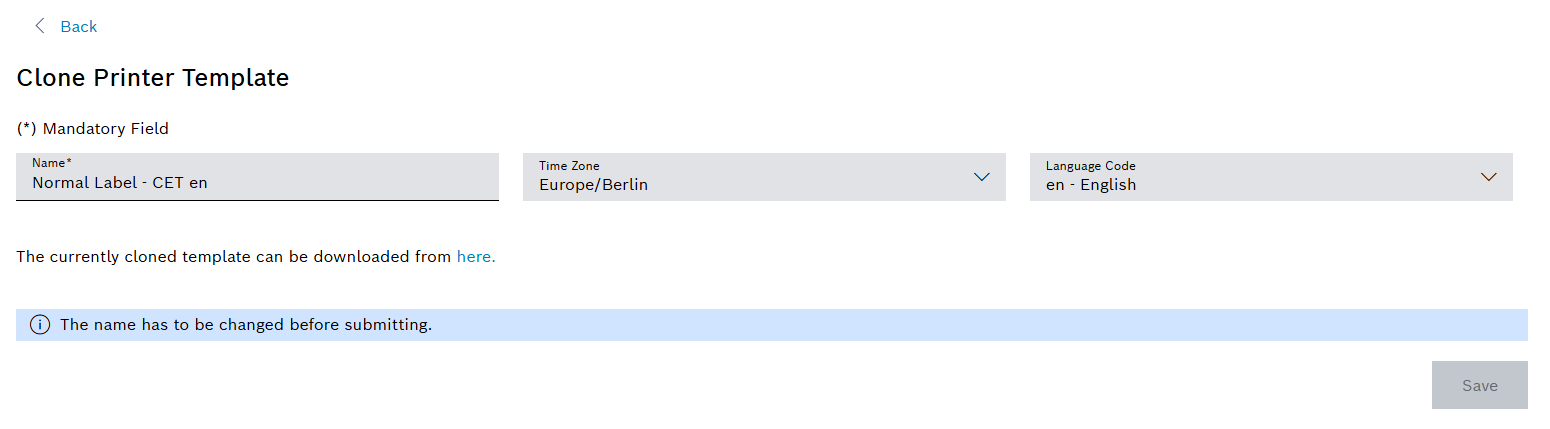
-
Enter the desired data.
-
Confirm with Save.
The cloned printer template will have the same printer template file as the printer template it was cloned from.
The cloned printer is displayed in the Printer Templates tab.
Delete printer template
|
When deleting a printer template, this printer template will be removed from all Monitoring Process Definitions. A new printer template has to be assigned to these Monitoring Process Definitions manually. |
Prerequisite
MaterialManagement Administrator role
Procedure
-
Open the Material Management > Configuration menu entry.
-
Click on the Printer Templates tab.
-
Click on
 in the row of the desired printer template.
 -
Confirm with Delete.
The printer template is removed from the Printer Templates tab and all Monitoring Process Definitions, to which it was assigned to.
Download printer template file
Prerequisite
MaterialManagement User role or MaterialManagement Expert role or MaterialManagement Administrator role
Procedure
-
Open the Material Management > Configuration menu entry.
-
Click on the Printer Templates tab.
-
Click on
 in the row of the desired printer template.
 -
Click on

The template file is downloaded in the browser’s default download folder.