How to initialize OpenSearch
|
This part requires to have running instances of OpenSearch and OpenSearch Dashboards in place. Using the following endpoints (authentication required) allows to verify the health of an OpenSearch deployment:
|
Initialize OpenSearch security plugin
If OpenSearch is deployed to an environment for the first time we have to initialize the security plugin as mentioned here in step 6.
To do this we have to connect to one of the OpenSearch pods and run the securityadmin.sh on it.
-
a) Either run the following command to connect to a pod
kubectl exec --stdin --tty <OPENSEARCH POD NAME> -- /bin/bash-
b) Or connect via k9s and press "s" when selecting an OpenSearch pod to connect via shell
-
Navigate to the folder plugins/opensearch-security/tools/
cd plugins/opensearch-security/tools/ -
Change the permissions of the securityadmin.sh in order to be able to execute it
chmod +x securityadmin.sh -
Initialize the security plugin
In order to execute this command in OpenSearch 2.x, it’s necessary to enable mTLS/SSL. Having executed the command successfully, mTLS/SSL needs to be disabled again as else OpenSearch in combination with the other services will not work. To enable or disable SSL, it is necessary to modify the parameter "plugins.security.ssl.http.enabled" in the config file "OpenSearch.yml". This can be modified in the Kubernetes secret "opensearch-config". See here.
./securityadmin.sh -cd /usr/share/opensearch/plugins/opensearch-security/securityconfig/ -icl -nhnv -cacert ../../../config/root-ca.pem -cert ../../../config/admin.pem -key ../../../config/admin-key.pemFunctional baseline
In order to prepare an OpenSearch cluster for usage, several steps have to be done manually using OpenSearch Dashboards.
| These steps must be done before starting the Device Portal services. |
Create devices index
| The index name should contain an incrementing suffix, e.g. "_v1" - we will create an alias for the index in the next chapter. |
-
Use the "Dev Tools" of OpenSearch Dashboards to create an index named "devices_v1".
PUT devices_v1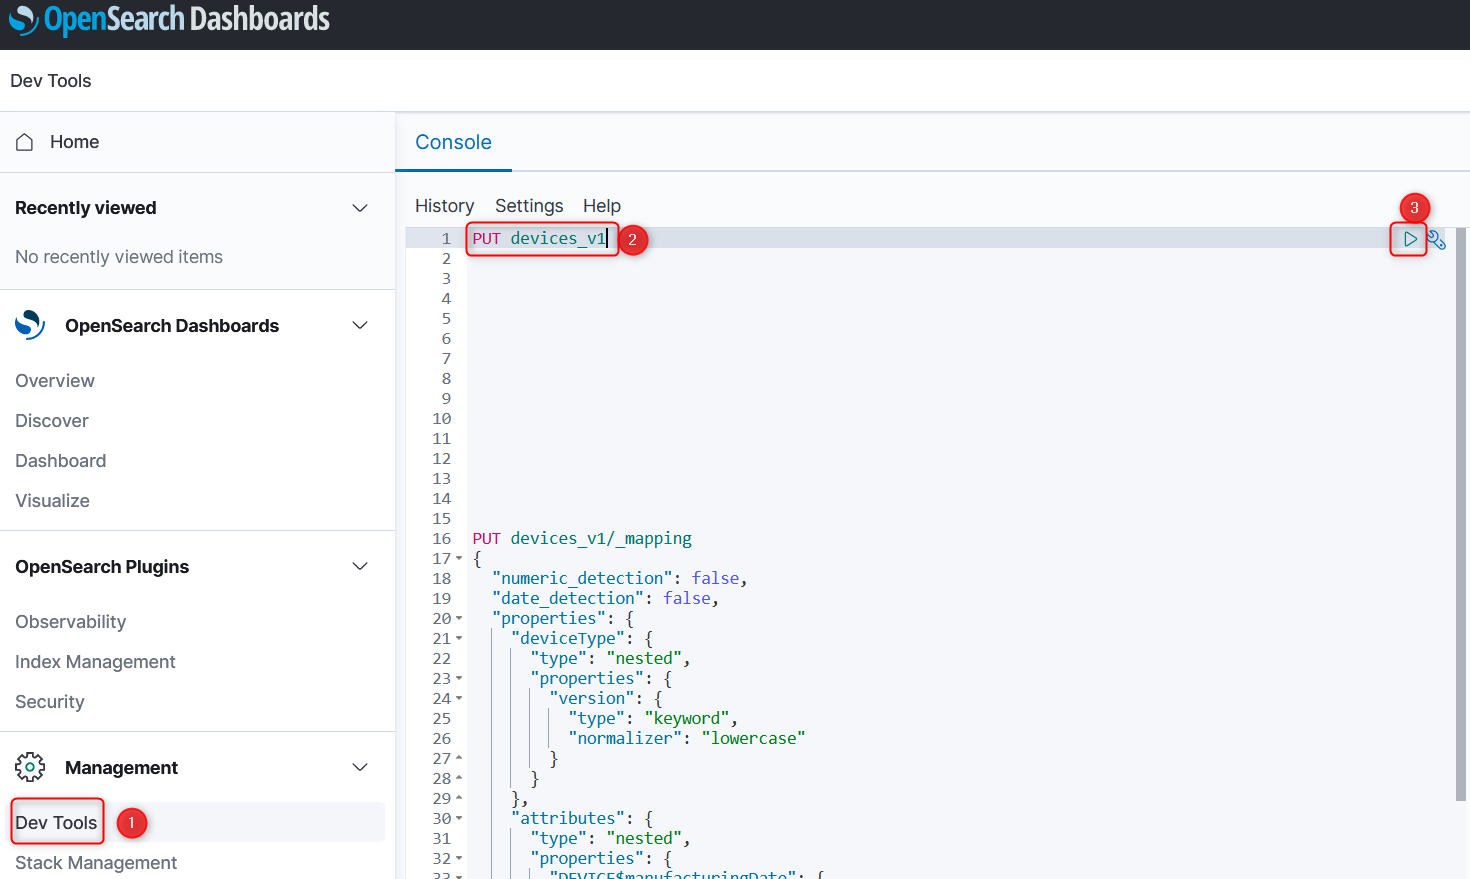
-
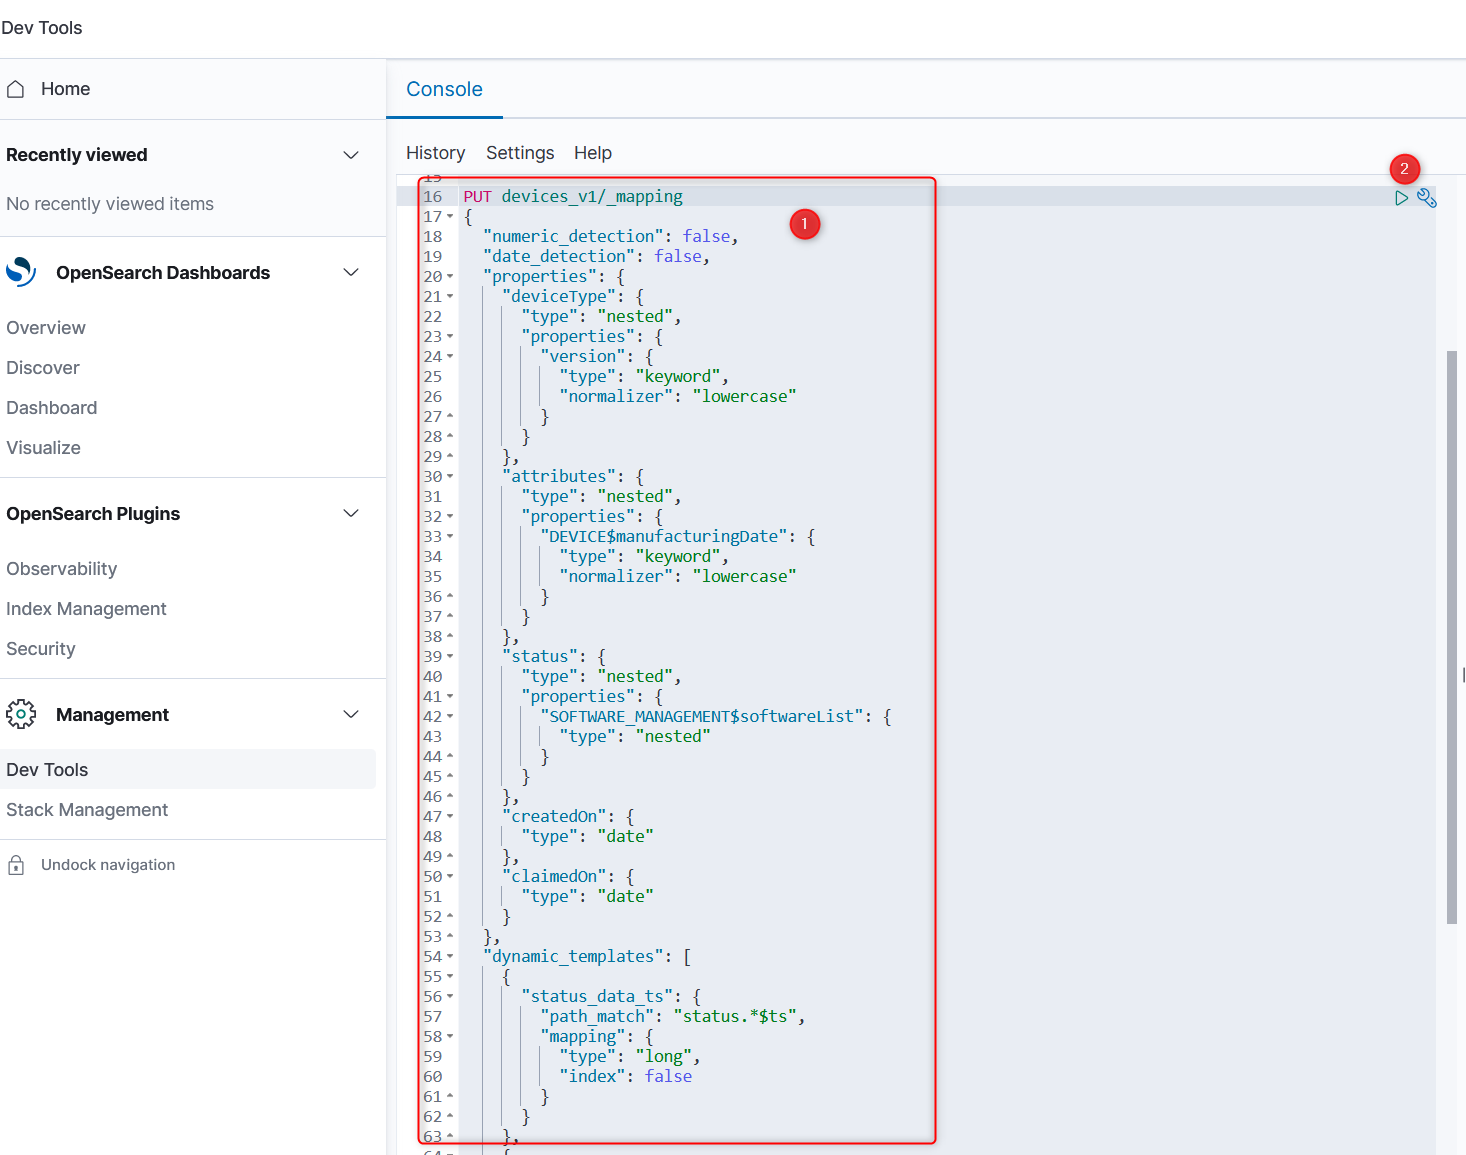
In the next step, we define the index mapping for our index:
PUT devices_v1/_mapping
{
  "numeric_detection": false,
  "date_detection": false,
  "properties": {
    "deviceType": {
      "type": "nested",
      "properties": {
        "id": {
          "type": "keyword"
        },
        "name": {
          "type": "keyword",
          "normalizer": "lowercase",
          "fields": {
            "raw": {
              "type": "keyword"
            }
          }
        },
        "version": {
          "type": "keyword",
          "normalizer": "lowercase"
        }
      }
    },
    "attributes": {
      "type": "nested",
      "properties": {
        "DEVICE$manufacturingDate": {
          "type": "keyword",
          "normalizer": "lowercase"
        }
      }
    },
    "status": {
      "type": "nested",
      "properties": {
        "SOFTWARE_MANAGEMENT$softwareList": {
          "type": "nested"
        }
      }
    },
    "createdOn": {
      "type": "date"
    },
    "claimedOn": {
      "type": "date"
    }
  },
  "dynamic_templates": [
    {
      "status_data_ts": {
        "path_match": "status.*$ts",
        "mapping": {
          "type": "long",
          "index": false
        }
      }
    },
    {
      "status_data_displayType": {
        "path_match": "status.*$displayType",
        "mapping": {
          "type": "keyword",
          "normalizer": "lowercase"
        }
      }
    },
    {
      "strings_as_keywords": {
        "match_mapping_type": "string",
        "mapping": {
          "type": "keyword",
          "normalizer": "lowercase"
        }
      }
    }
  ]
}
The request should look like in the picture below:
-
Create an alias to have a stable naming reference to our index (which is used by the Device Portal services). This alias will remain unchanged also when we exchange the underlying index. The alias must be matching the index name but without the incrementing suffix.
PUT devices_v1/_alias/devices
Create machines index
-
Use the "Dev Tools" of OpenSearch Dashboards to create an index named "machines_v1".
PUT machines_v1 -
In the next step, we define the index mapping for our index:
PUT machines_v1/_mapping { "dynamic": "strict", "properties": { "id": { "type": "keyword" }, "ownerId": { "type": "keyword" }, "name": { "type": "keyword", "normalizer": "lowercase" }, "description": { "type": "keyword", "normalizer": "lowercase" }, "type": { "type": "keyword", "normalizer": "lowercase" }, "number": { "type": "keyword", "normalizer": "lowercase" }, "controlSystem": { "type": "keyword", "normalizer": "lowercase" }, "softwareVersion": { "type": "keyword" }, "manufacturingDate": { "type": "date" }, "startOfProductionDate": { "type": "date" }, "createdOn": { "type": "date" } } } -
Create an alias to have a stable naming reference to our index (which is used by the Device Portal services). This alias will remain unchanged also when we exchange the underlying index. The alias must be matching the index name but without the incrementing suffix.
PUT machines_v1/_alias/machines
Devices index pattern
| Ensure to perform this step only after the device data was synchronized to OpenSearch (see How to synchronize devices and machines to OpenSearch). The reason is that we use dynamic mapping for the device index. This means the keys are only known after the synchronization. |
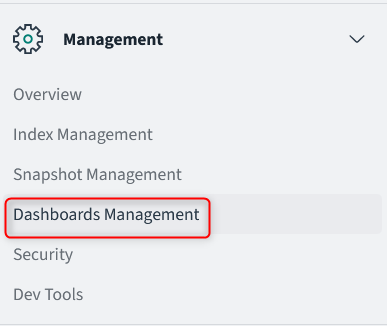
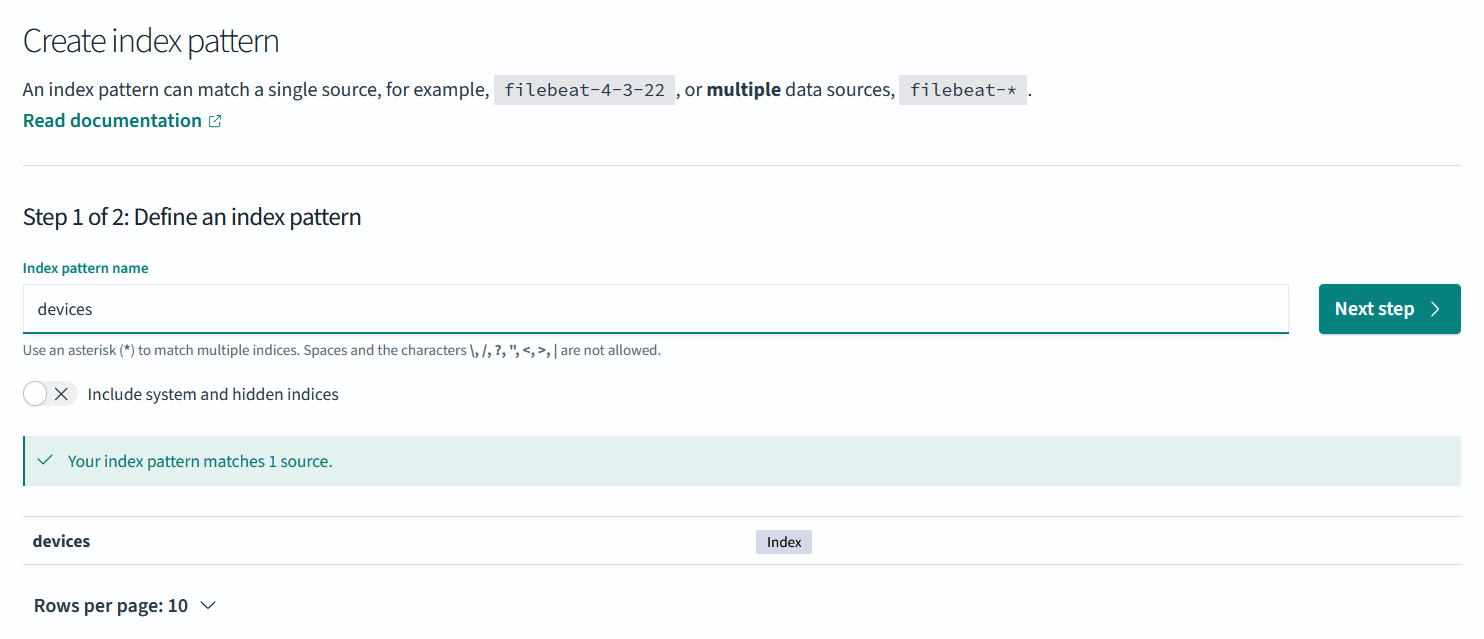
In order to be able to query the "devices" index (or the content of other any index), it’s necessary to create a new index pattern. This can be done in the "Dashboards Management" → Index Patterns :
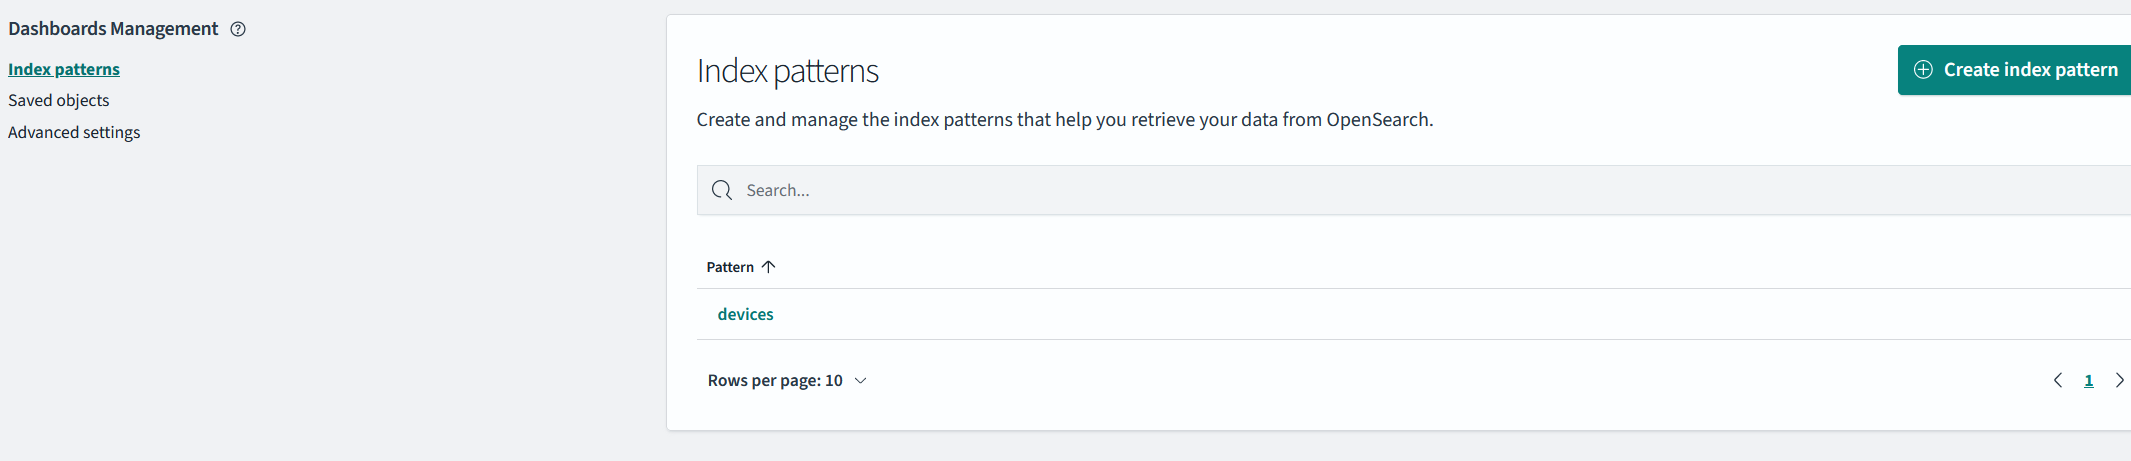
Insert the name of the index you created previously and go ahead using "Next step >".
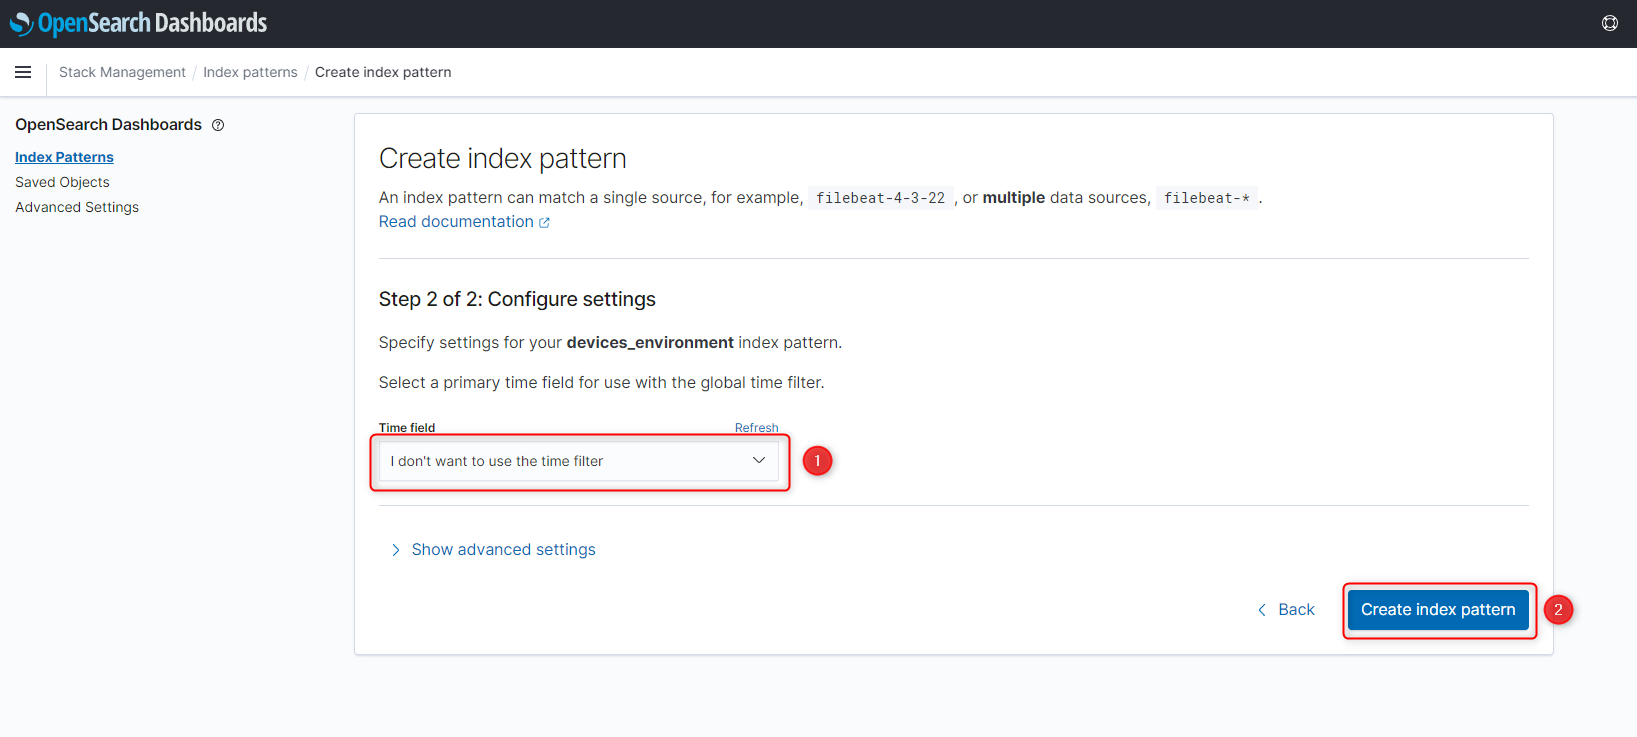
Skip the next step by selecting "I don’t want to use the time filter". Then, click "Create index pattern".
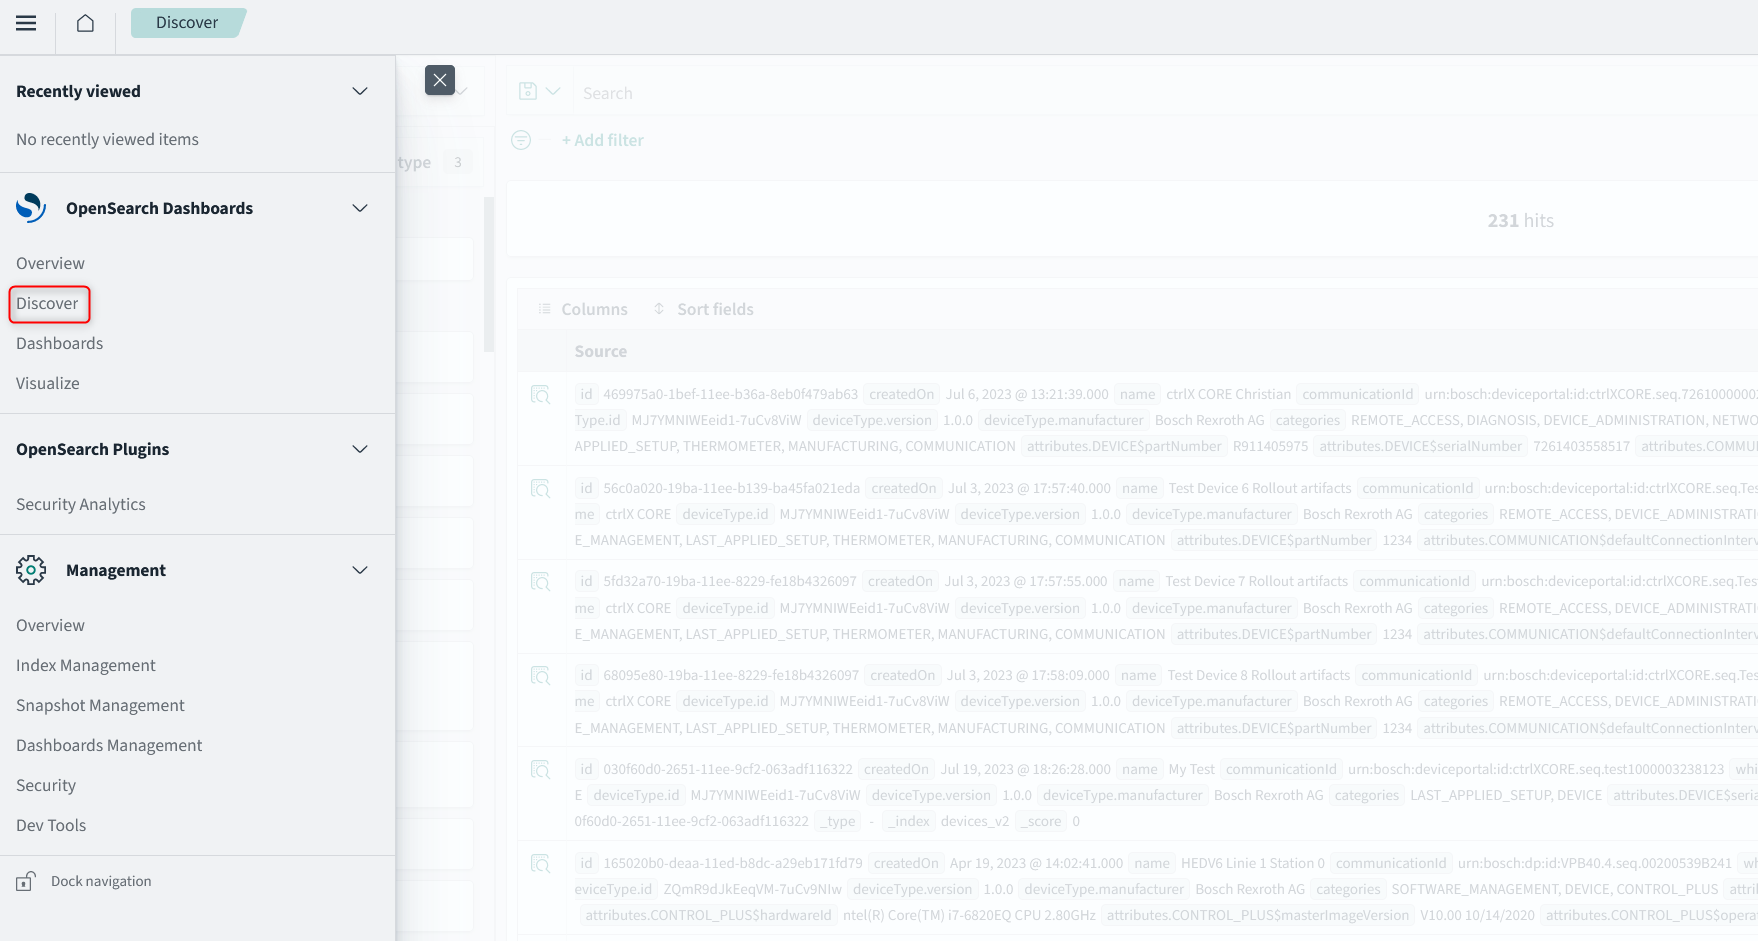
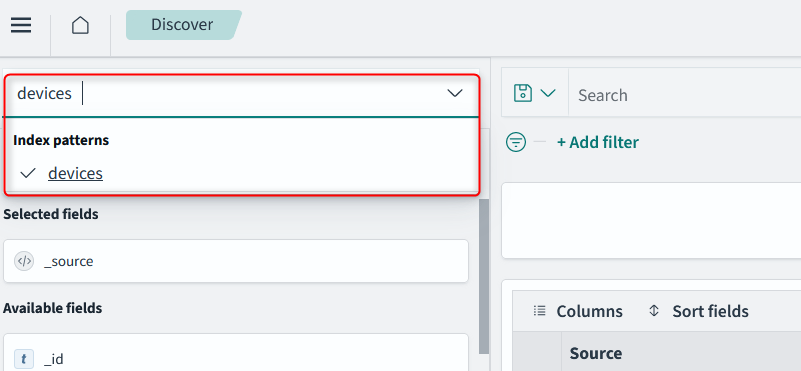
The created index pattern can now be used by navigating to "Discover" and selecting it. If the index contains data, it’s being displayed here.
Machines index pattern
| Ensure to perform this step only after the machine data was synchronized to OpenSearch (see How to synchronize devices and machines to OpenSearch). |
Perform the same steps as described in the previous chapter for the "machines" index.