Tool Administration: Groups
Groups are created and configured in the Tool Management > Tool Administration > Groups tab. The groups can be used to classify types. The groups can be used to filter and find types more easily. The created groups are shown in the filter criteria in the tabs Tool Management > Tools & Components and Tool Management > Types.
A type can only be assigned to one group.
Properties can be added to the group for having the same properties for each type belonging to the group.

| Element / Icon | Description |
|---|---|
XX items |
Number of available groups. |
Search |
Search for group by entering in full or in part. |
|
|
Name |
Name of the group. |
Short Name |
Short name of the group. |
|

When a group is selected, the group opens and the following tabs appear:
-
General
-
Properties
Tool Administration: Groups - General
If a group is selected in the Tool Management > Tool Administration > Group tab, the detailed view opens. The name and short name of the group can be changed in the detailed view in the General tab.

| Element / Icon | Description |
|---|---|
Name |
Group name. |
Short Name |
Short name of the group. |
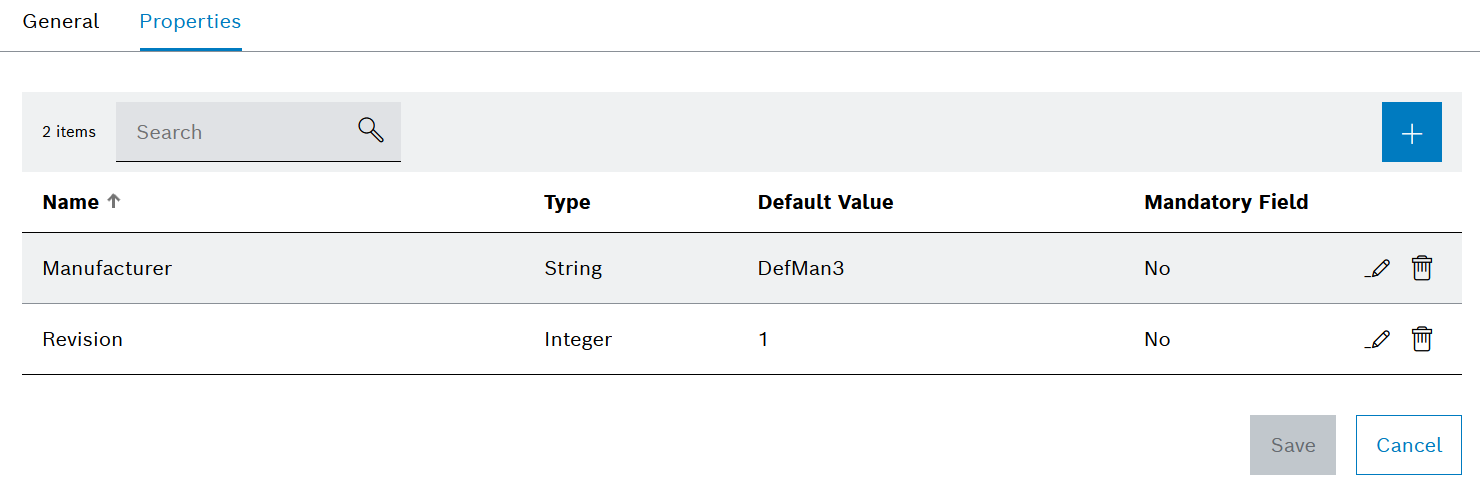
Tool Administration: Groups - Properties
If a group is selected in the Tool Management > Tool Administration > Group tab, the detailed view opens. The properties of the group can be changed in the detailed view in the Properties tab.
A default value can be defined for each property. If a default value is defined, this value is assigned to each type in the group when the type gets assigned to a group. If a property is mandatory, a value must be entered or selected in the tool or component of the types for it to be released.
When a type is assigned to a group, the properties of the group are taken from the type. Changes to properties of the group are transferred to already created types and tools or components of the type.
| Element / Icon | Description |
|---|---|
XX items |
Number of available properties for the selected group. |
Search |
Search by property. Enter complete property or part of it. |
|
Add property to the group. |
Name |
Name of the property. |
Type |
Type of the property. |
Default Value |
The default value of the property that is entered or selected. |
Mandatory |
Shows whether it is mandatory to enter a value in the tool or component in order to release it. |
|
|
|
Delete properties from the group. |

Creating a group
Prerequisite
Tool Management Expert or Tool Management Admin role
Procedure
-
Click on the Tool Management > Tool Administration > Groups tab.
-
Create group with
 .
.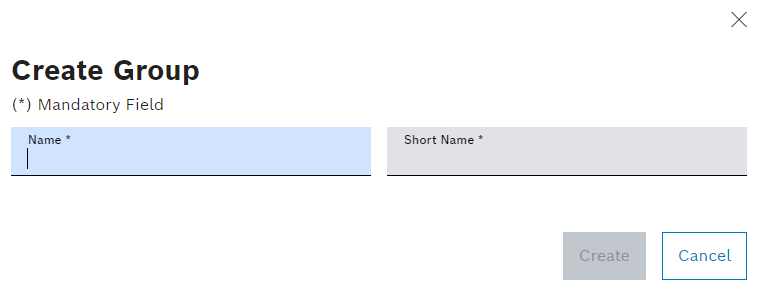
The short name is an abbreviation for the group.
-
Enter Name and Short Name.
-
Create group with Create.
The group is displayed in the Tool Management > Tool Administration > Groups tab.
-
To assign to a type to the group, continue with Configuring a type.
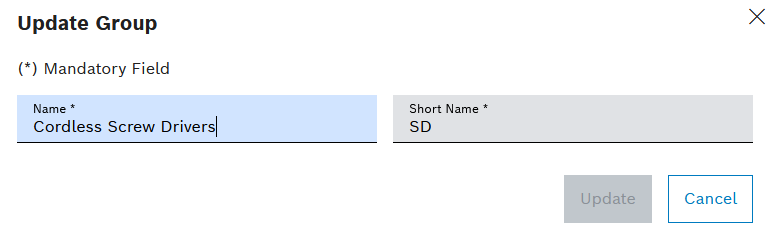
Configure groups
Prerequisite
Tool Management Expert or Tool Management Admin role
Procedure
-
Click on the Tool Management > Tool Administration > Groups tab.
-
Open group details by selecting a group.
-
Change Name and Short Name in General tab.
The short name is an abbreviation for the group.
-
Add, change or remove properties in Properties tab.
-
Confirm changes with Save.
The group is configured.
-
To assign a type to a group, continue with Configuring a type.
Deleting a group
Deleted groups are no longer displayed and cannot be recovered.
Prerequisite
Tool Management Expert or Tool Management Admin role
Procedure
-
Click on the Tool Management > Tool Administration > Groups tab.
-
Delete group with
 .
.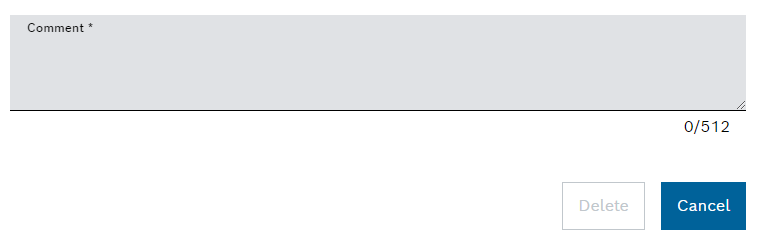
-
Remove group with Delete.
The group is no longer available. Types contained in the group are no longer assigned to any group.