SOT
    • Introduction
    • Release notes
      • Breaking changes
    • User manual
      • Introduction
      • Navigating Industrial Application System
        • Navigation menu
        • Header
        • Managing favorite menu entries
      • Dashboards
        • Creating a dashboard space
        • Sharing a dashboard space
        • Creating a dashboard
        • Editing a dashboard
        • Applying dashboard filters and templates
        • Marking dashboards as favorites
        • Adding Web Portal widgets
      • User profile
      • Support
      • User help
      • Screen display modes
      • System information
      • System Settings
        • Footer and Privacy
        • Skinning
        • Navigation Menu
    • Operations manual
      • Overview
      • System architecture and interfaces
      • System requirements
        • portal/coreservice
      • Migration from previous versions
        • From 5.24 to 5.25
        • From 5.23 to 5.24
        • From 5.22 to 5.23
        • IAS 2025.01.00 (Portal 5.20)
        • From 5.15 to 5.16
        • Helm job for database migration (>5.15)
        • From 5.14 to 5.15
        • From 5.13 to 5.14
        • From 5.12 to 5.13
        • From 5.11 to 5.12
        • From 5.10 to 5.11
        • From 5.9 to 5.10
        • From 5.8 to 5.9
        • From 5.7 to 5.8
        • From 5.6 to 5.7
        • From 5.5 to 5.6
        • From 5.3 to 5.4
        • From 5.1 to 5.2
        • Resource mapping from MES to IAS
      • Setup and configuration
        • Permission and roles
        • Support section
        • Training & documentation section
        • Legal information and footer section
        • Cookies
        • Secure configuration
        • Configuration of sections in menu
        • API documentation - footer configuration
        • Environment variables
          • Global variables
          • portal/coreservice
          • portal/systemtests
          • Application variables exposed in Helm chart
      • Start and shutdown
        • Startup dependencies
        • Background tasks
        • Health and availability APIs
      • Regular operations
        • Removing / deregister / unregister a module
        • User data deletion
      • 09_failure_handling/index.adoc
      • Backup and Restore
      • Logging and monitoring
      • Known limitations
    • Developer documentation
      • Concepts
        • General
        • Navigation
        • Dashboard
        • Cross-module communication
        • Documents
        • Security
        • Limitations
      • How to…​
        • register your module & views
        • implement context contribution
        • develop a Web Portal-compatible frontend
        • use the iframe integration library
        • build widgets
        • check the integration status
        • improve UI performance
      • Troubleshooting
    • API documentation
    • Glossary
Web Portal
  • Smart Operations Toolkit
    • Deviation Processor
    • Multitenant Access Control
    • Notification Service
    • Ticket Management
    • Web Portal
  • Shopfloor Management
    • Andon Live
    • KPI Reporting
    • Operational Routines
    • Shift Book
    • Shopfloor Management Administration
  • Product & Quality
    • Process Quality
    • AI Services
  • Machine & Equipment
    • Condition Monitoring
    • Device Portal
  • Enterprise & Shopfloor Integration
    • Information Router
    • Master Data Management

SOT Learning Portal

  • Web Portal
  • User manual
  • Dashboards
  • Adding Web Portal widgets

Adding Web Portal widgets

Prerequisite

You have edit permissions for the dashboard.

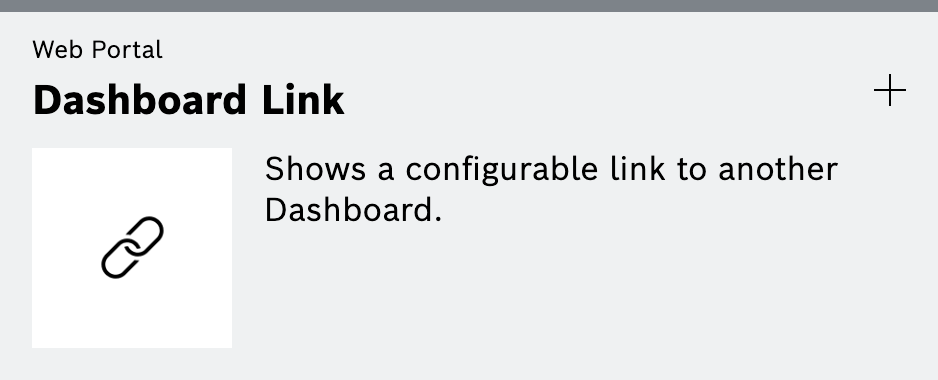
Adding and configuring a Dashboard Link widget

  1. Open the dashboard in Edit mode.

  2. Open the widget catalog sidebar (open by default) and add the Dashboard Link widget onto the grid.

    Dashboard Link widget in the widget catalog
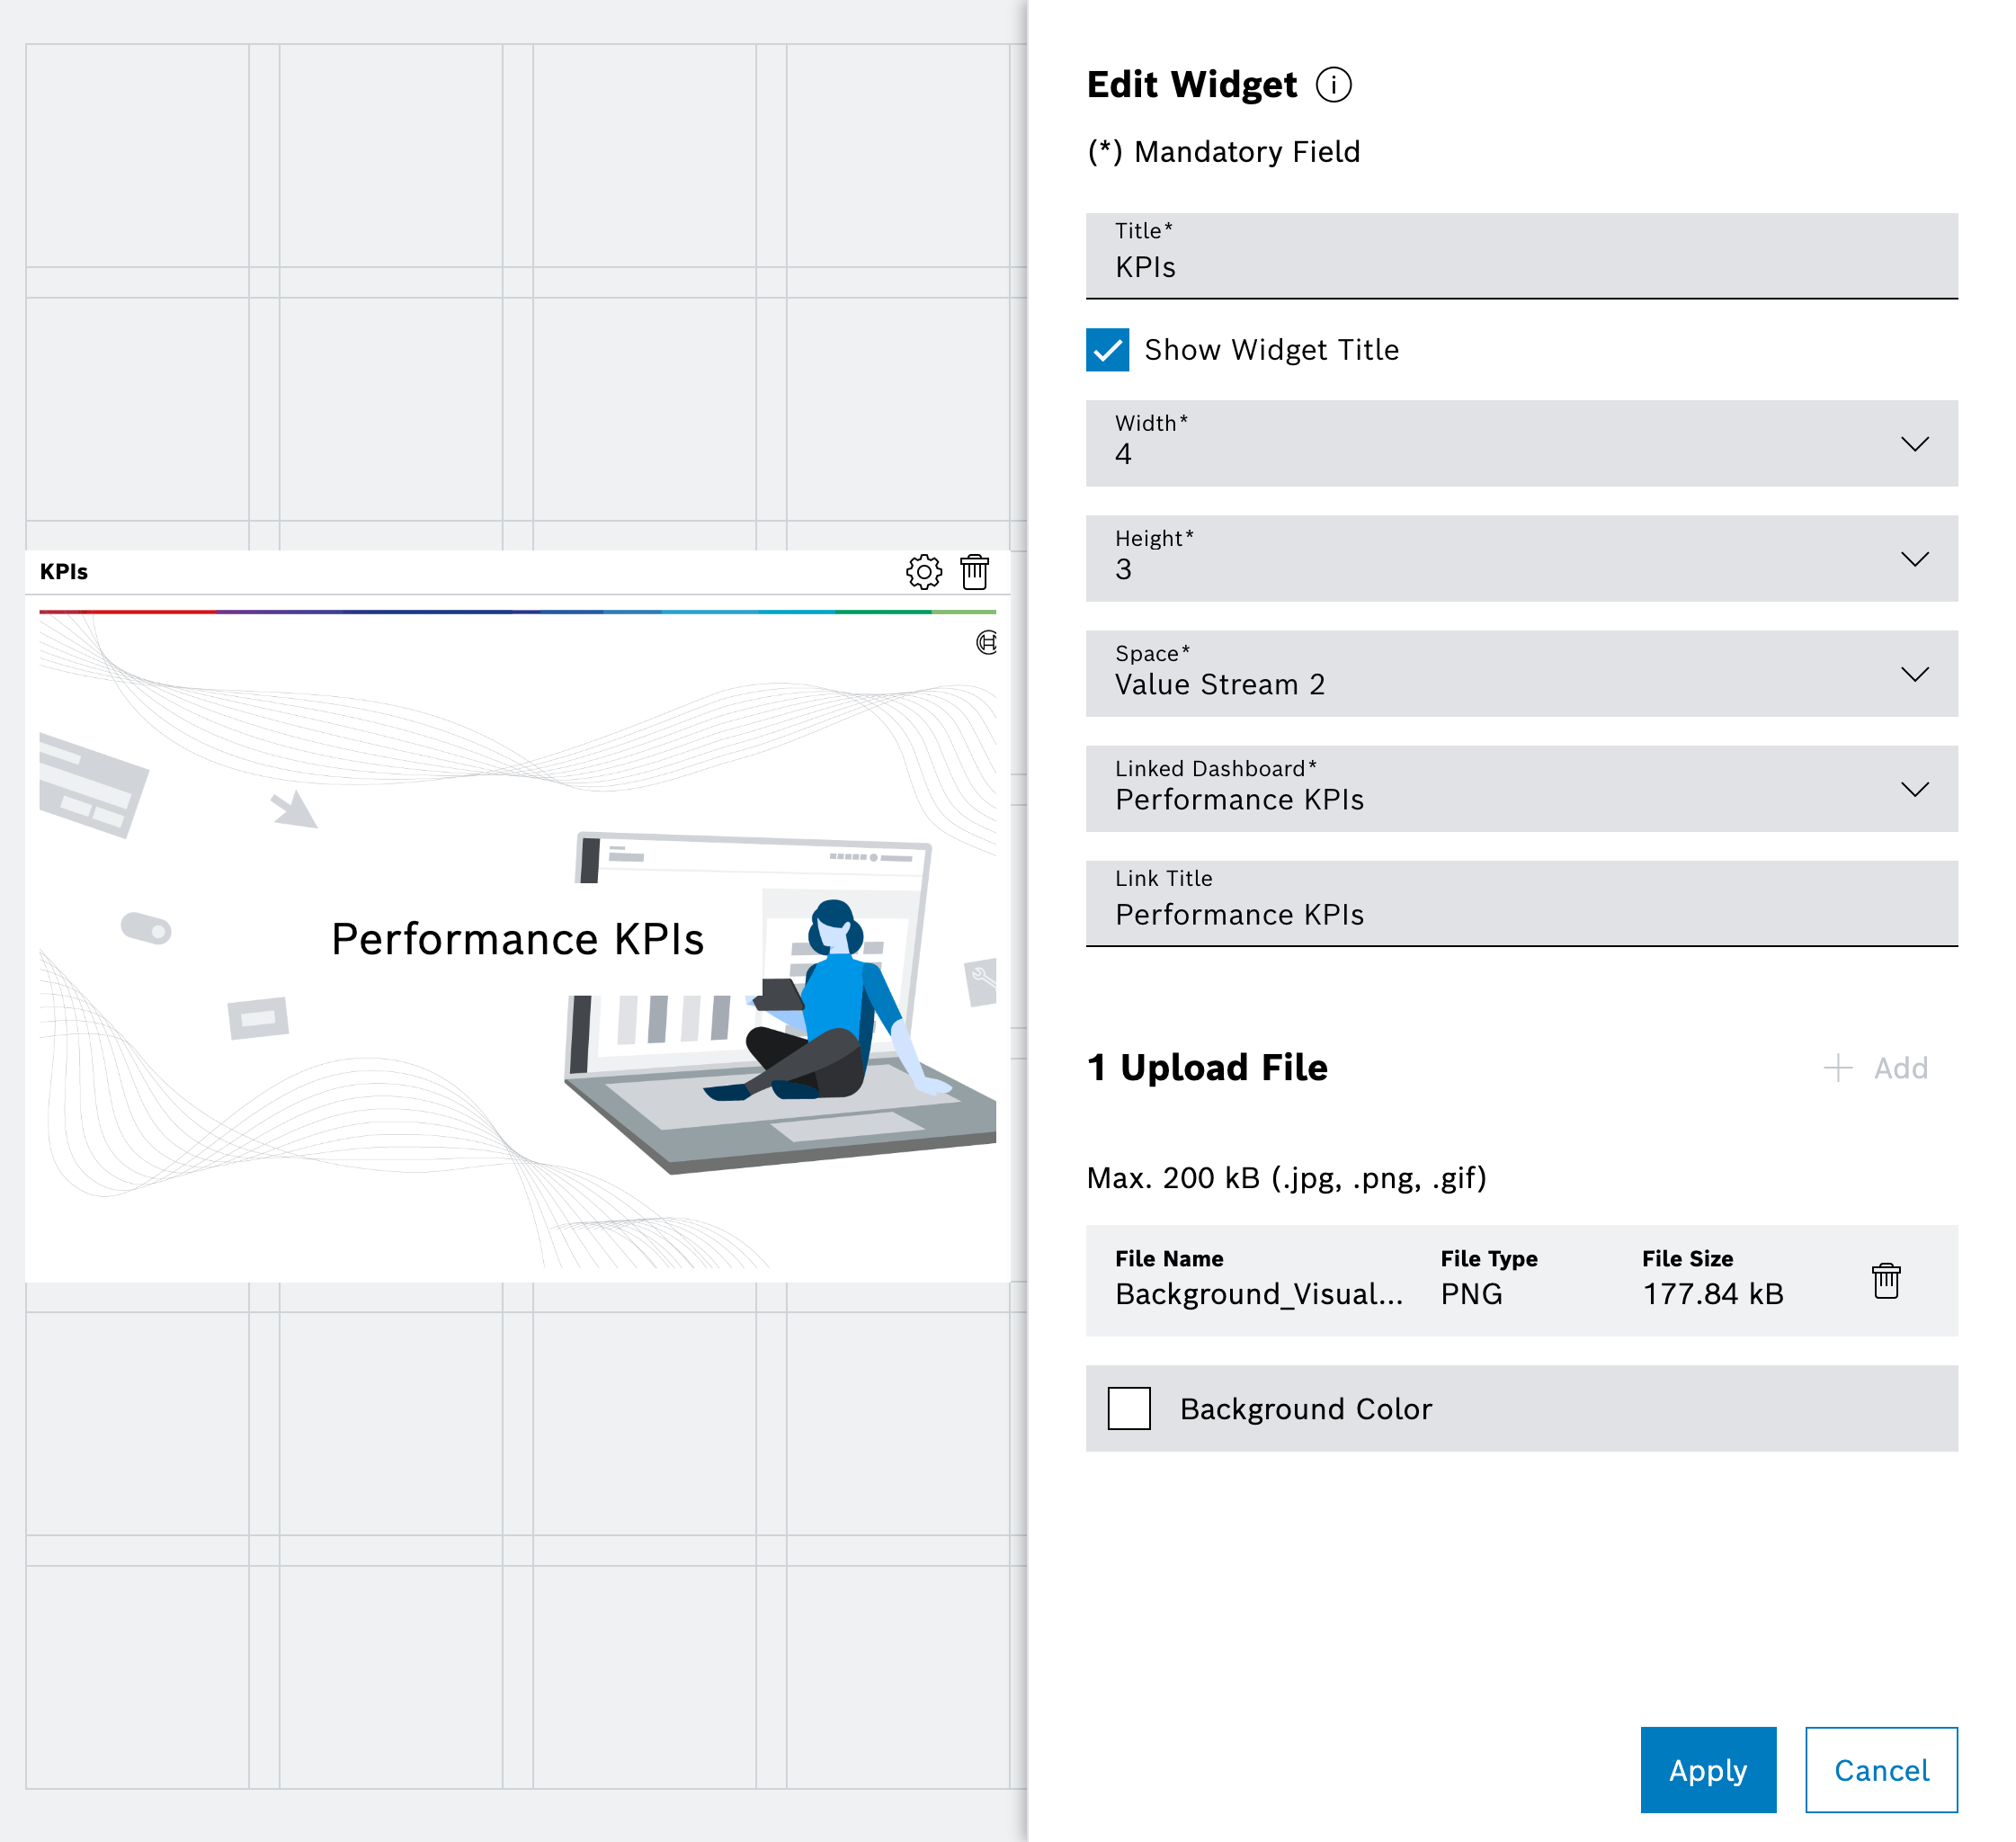
  3. In the widget configuration, select the source space and dashboard that should be linked.

  4. Enter the link title that will be shown on the widget or keep the default dashboard name. The link title can be left empty.

  5. Choose a background option:

    • Click Add in the file section and upload a JPG, PNG or GIF file with a maximum size of 200 kB. The image fills the entire widget background.

    • Click Background Color and pick a color from the palette.

  6. Confirm with Apply.

  7. Click the Edit mode button on the dashboard to store the changes.

Dashboard Link widget with configuration

Click the widget to navigate directly to the target dashboard. Users without permissions for the target dashboard see an error message after clicking the widget.

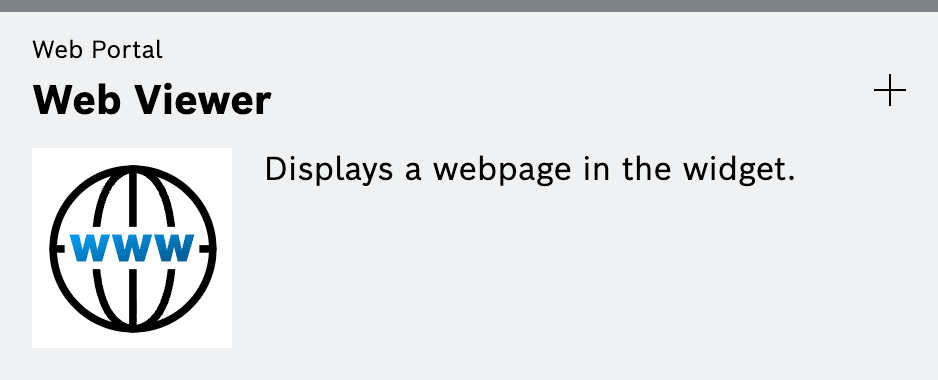
Adding and configuring a Web Viewer widget

  1. Open the dashboard in Edit mode.

  2. Open the widget catalog sidebar (open by default) and add the Web Viewer widget onto the grid.

    Web Viewer widget in the widget catalog
  3. Enter the URL of the page that should be embedded.

  4. (Optional) Adjust the refresh interval or zoom levels.

  5. Confirm with Apply.

  6. Click the Edit mode button on the dashboard to store the changes.

Web Viewer widget with configuration

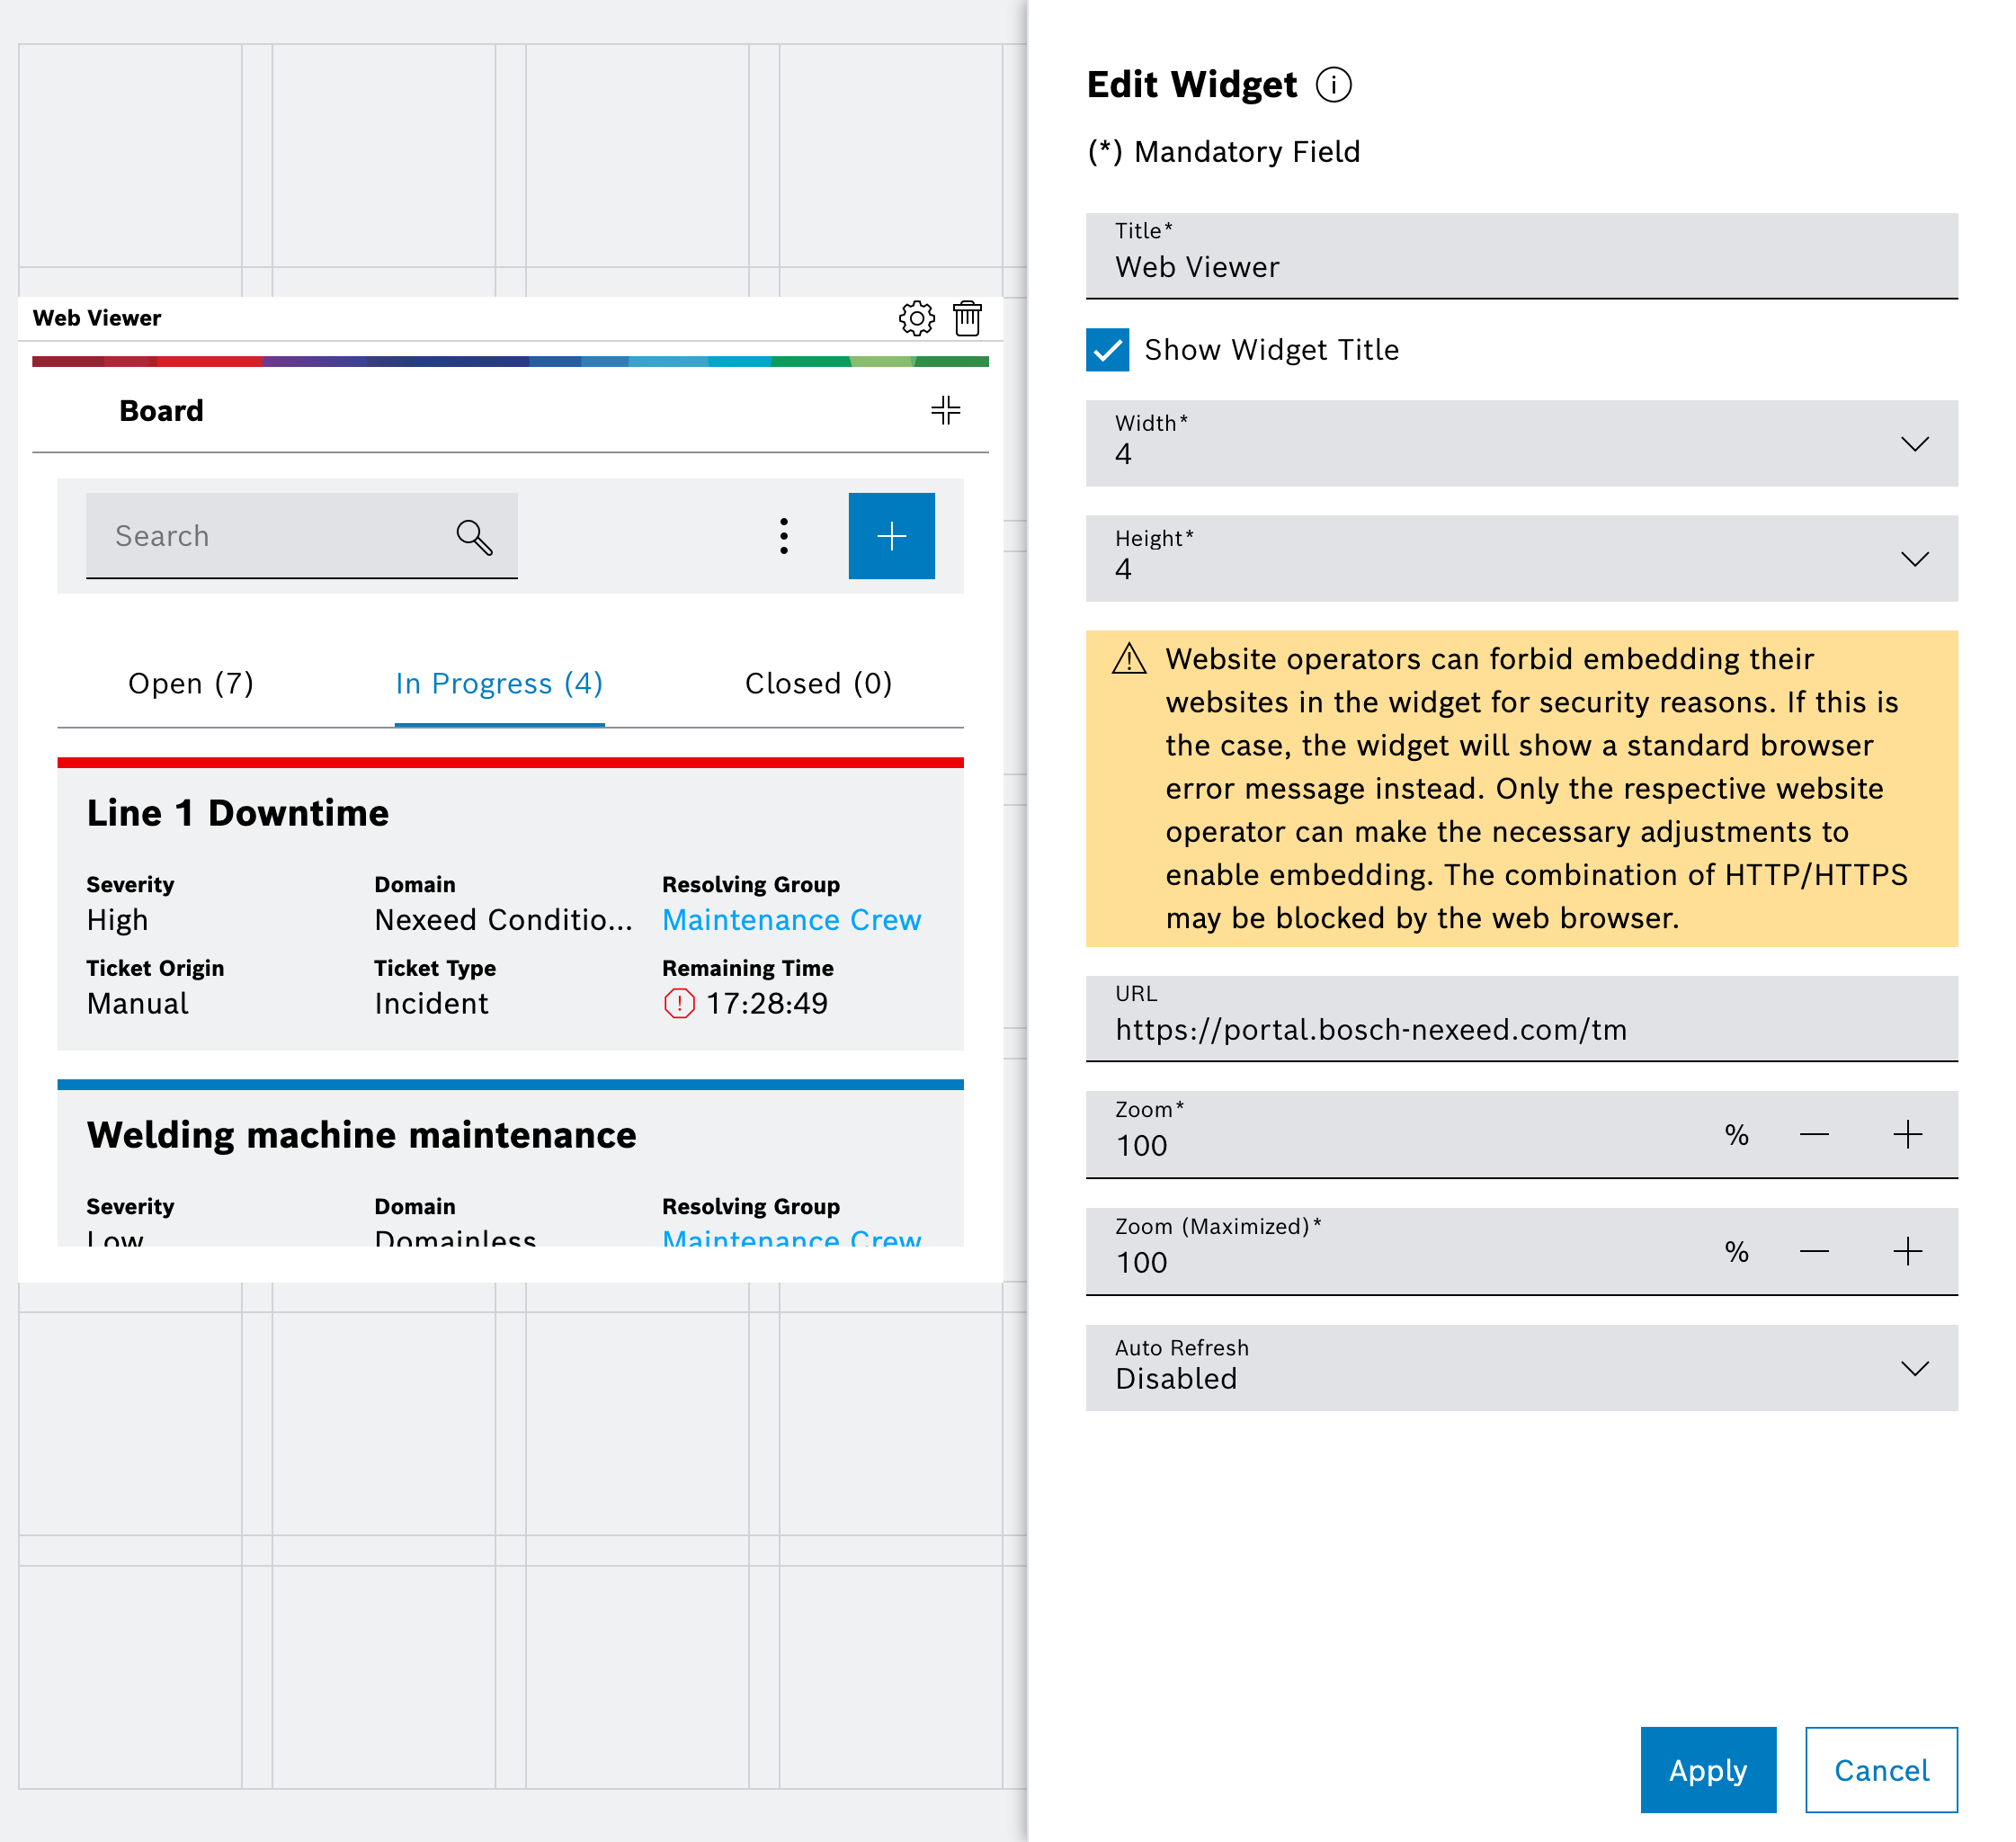
The Web Viewer widget displays the provided page inside the dashboard. Ensure that the target site allows embedding through its Content-Security-Policy. Only the respective website operator can adjust these settings. The widget supports both HTTP and HTTPS URLs, but embedding HTTP pages in an HTTPS context may be blocked by modern browsers due to mixed content restrictions.

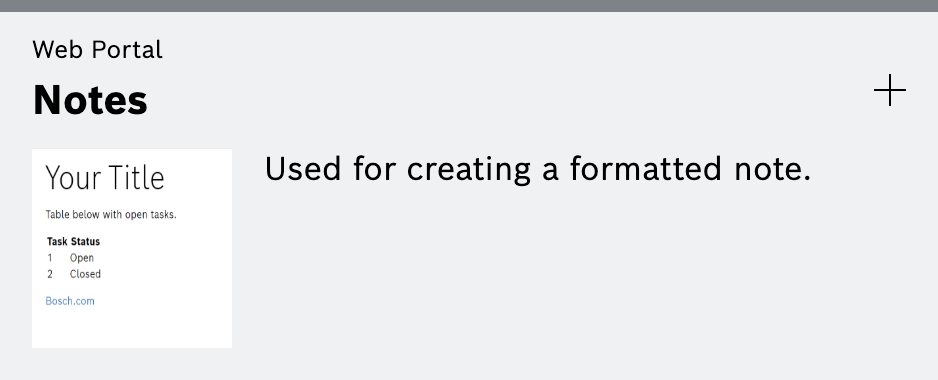
Adding and configuring a Notes widget

  1. Open the dashboard in Edit mode.

  2. Open the widget catalog sidebar (open by default) and add the Notes widget onto the grid.

    Notes widget in the widget catalog
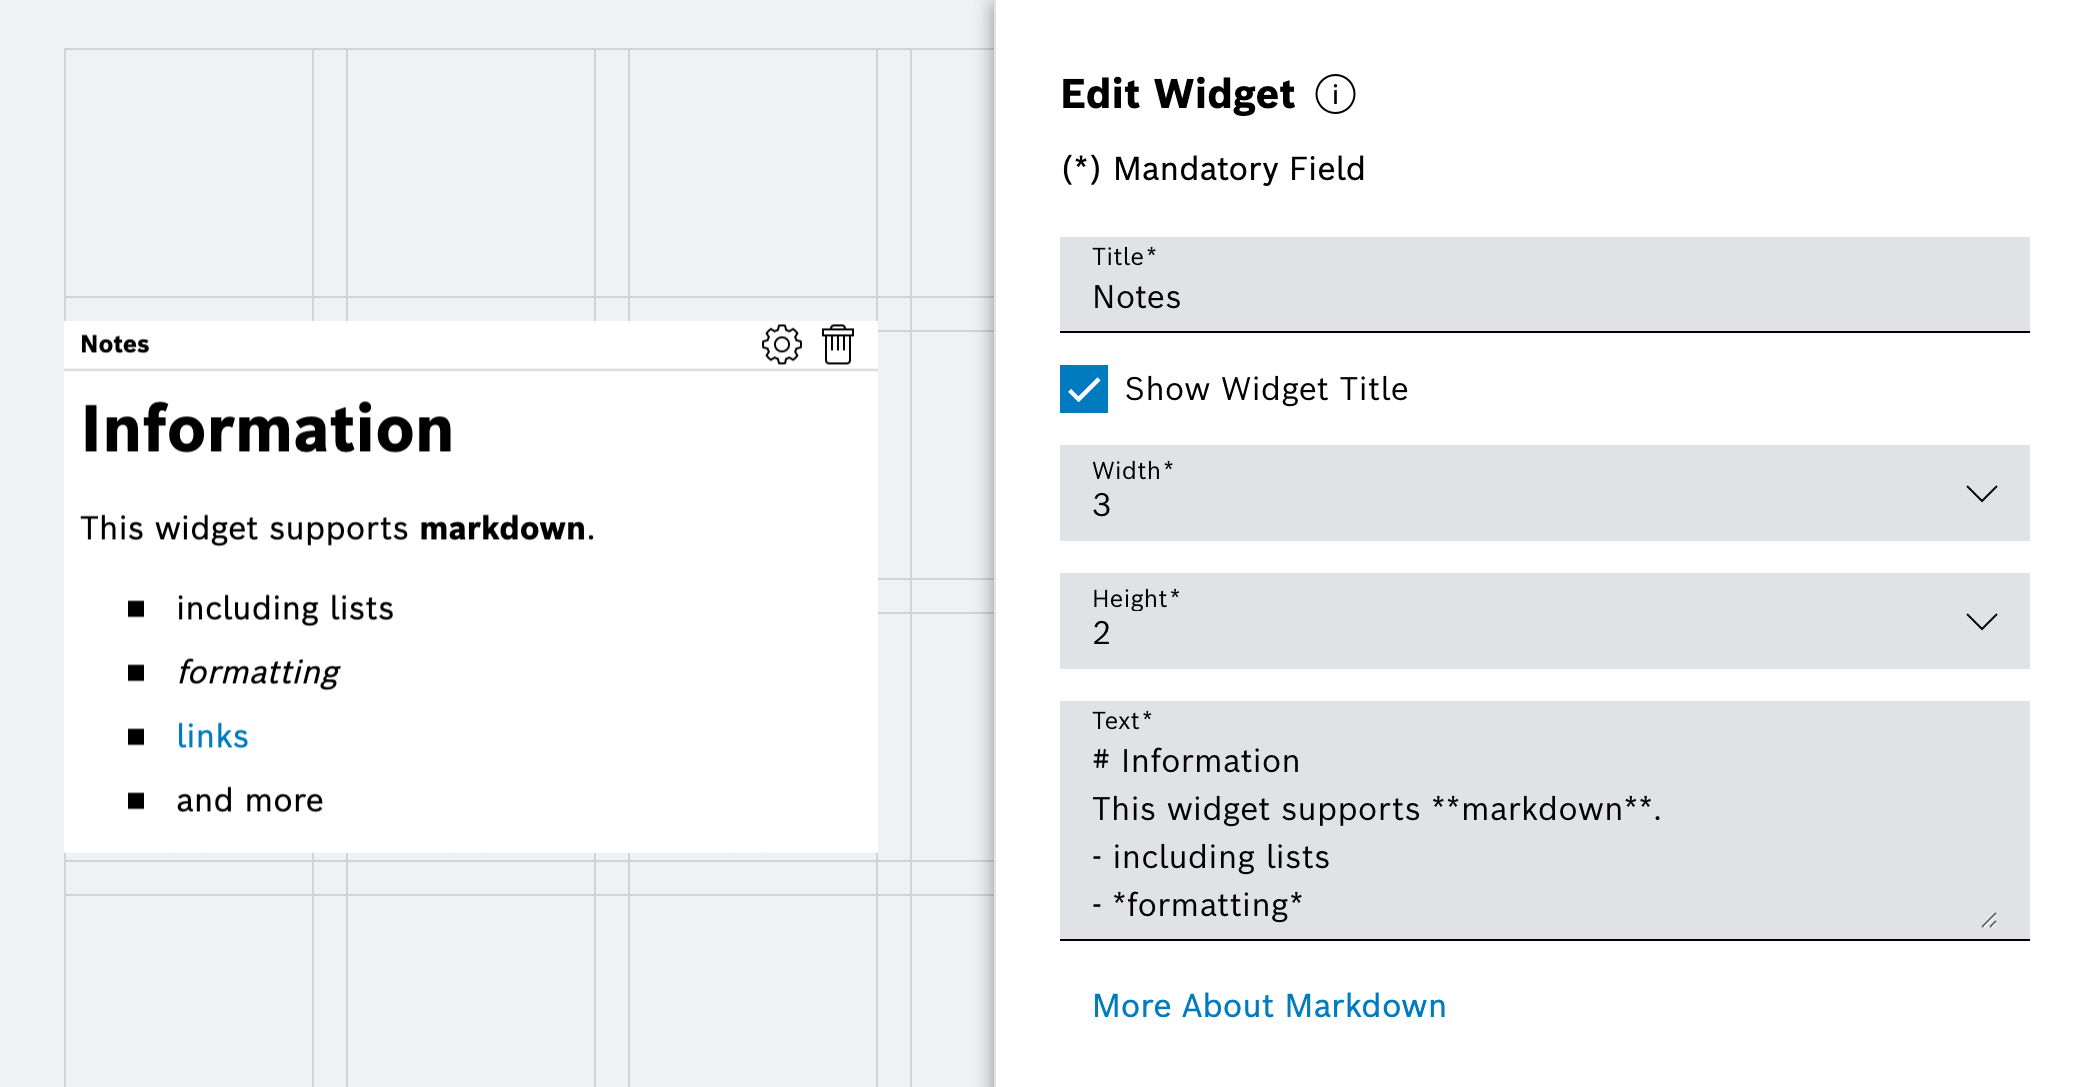
  3. Enter the note content in the text field.

    The Notes widget supports plain text and markdown-formatted content for adding information, reminders, descriptions, links, images, or instructions to your dashboard.

    Markdown formatting examples

    Headings

    # Header 1
    ## Header 2
    ### Header 3

    Text Formatting

    _emphasis_
    **strong**
    ~~corrections~~

    Lists

    1. First item
    2. Second item
      * Unordered sub item
      1. Ordered sub item

    Links

    [Link text](https://www.bosch.com)

    New Line (requires two line breaks - a blank line between paragraphs)

    Text
    
    Text

    Tables

    Markdown | Less | Pretty
    --- | --- | ---
    1 | 2 | 3

    Horizontal Line

    ---

    Images

    ![Image alt text](https://via.placeholder.com/150)
  4. Confirm with Apply.

  5. Click the Edit mode button on the dashboard to store the changes.

Notes widget with content

The Notes widget displays the entered text content on the dashboard.

Contents

© Robert Bosch Manufacturing Solutions GmbH 2023-2026, all rights reserved

Changelog Corporate information Legal notice Data protection notice Third party licenses