Nexeed
    • Introduction
      • Main functions
    • User manual
      • General operation
        • Filter part information
        • Export Identifier
        • Filter and edit settings
      • Search & act menu
        • Parts information area, overview tab
        • Parts information area, details tab
        • Parts information area, counter/timer tab
        • Parts information area, layout tab
        • Parts information area, part report tab
        • Parts information area, block tab
        • Parts information area, additional data tab
        • Comments area
        • Customer-specific actions area
        • Parts handling area
        • Dependent actions area
        • Part coding area
      • Settings menu
        • Hardware settings menu item, general tab
        • Hardware settings menu item, serial tab
        • Hardware settings menu item, Balluff tab
        • Client settings menu item, general tab
        • Client settings menu item, workflows tab
      • Operate the Rework Control module
        • Process part
      • Rework Control core
        • Starting the application
        • Web configuration
        • Client configuration
        • Roles and resources
        • Welcome screen & search step
        • Search and analyze step
          • How to filter
        • Recovery options step
        • Complete step
          • Rework process
          • Free coding process
    • Operations manual
      • Overview
      • System architecture and interfaces
        • General deployment view
        • Element description
        • Network connections overview
      • System requirements
        • rework/helmchart/rework
        • rework/rework-control-backend-service
        • rework/rework-control-web-service
        • rework/rework-control-core-backend-service
        • rework/rework-control-core-web-service
        • rework/rework-control-core-backend-service-init
        • bci-app/nginx
      • Migration from previous versions
        • Migration from MES to IAS
        • Migration from 6.2 to 6.3
      • Setup and configuration
        • Desktop client
          • ClickOnce client installation
          • Hardware connectivity
        • rework/rework-control-backend-service
        • rework/rework-control-web-service
        • rework/rework-control-core-backend-service
        • rework/rework-control-core-web-service
        • rework/rework-control-core-backend-service-init
        • bci/nginx
        • Use ConfirmRework workflow/activity
        • Deployment via Helm with multi-instance support
      • Start and shutdown
      • Regular operations
        • Access control roles and resources
        • Tenant data removal
      • Failure handling
      • Backup and Restore
      • Logging and monitoring
      • Known limitations
    • API documentation
      • HTTP API
Rework Control
  • Industrial Application System
  • Core Services
    • Block Management
    • Deviation Processor
    • ID Builder
    • Multitenant Access Control
    • Notification Service
    • Ticket Management
    • Web Portal
  • Shopfloor Management
    • Andon Live
    • Global Production Overview
    • KPI Reporting
    • Operational Routines
    • Shift Book
    • Shopfloor Management Administration
  • Product & Quality
    • Product Setup Management
    • Part Traceability
    • Process Quality
    • Setup Specs
  • Execution
    • Line Control
    • Material Management
    • Order Management
    • Packaging Control
    • Rework Control
  • Intralogistics
    • Stock Management
    • Transport Management
  • Machine & Equipment
    • Condition Monitoring
    • Device Portal
    • Maintenance Management
    • Tool Management
  • Enterprise & Shopfloor Integration
    • Archiving Bridge
    • Data Publisher
    • Engineering UI
    • ERP Connectivity
    • Gateway
    • Information Router
    • Master Data Management
    • Orchestrator

Nexeed Learning Portal

  • Rework Control
  • User manual
  • Rework Control core
  • Web configuration

Web configuration

Once you have logged into the Nexeed Industrial Application System and are at the main screen, navigate to the Configuration menu under the Rework Control module to configure the station UI.
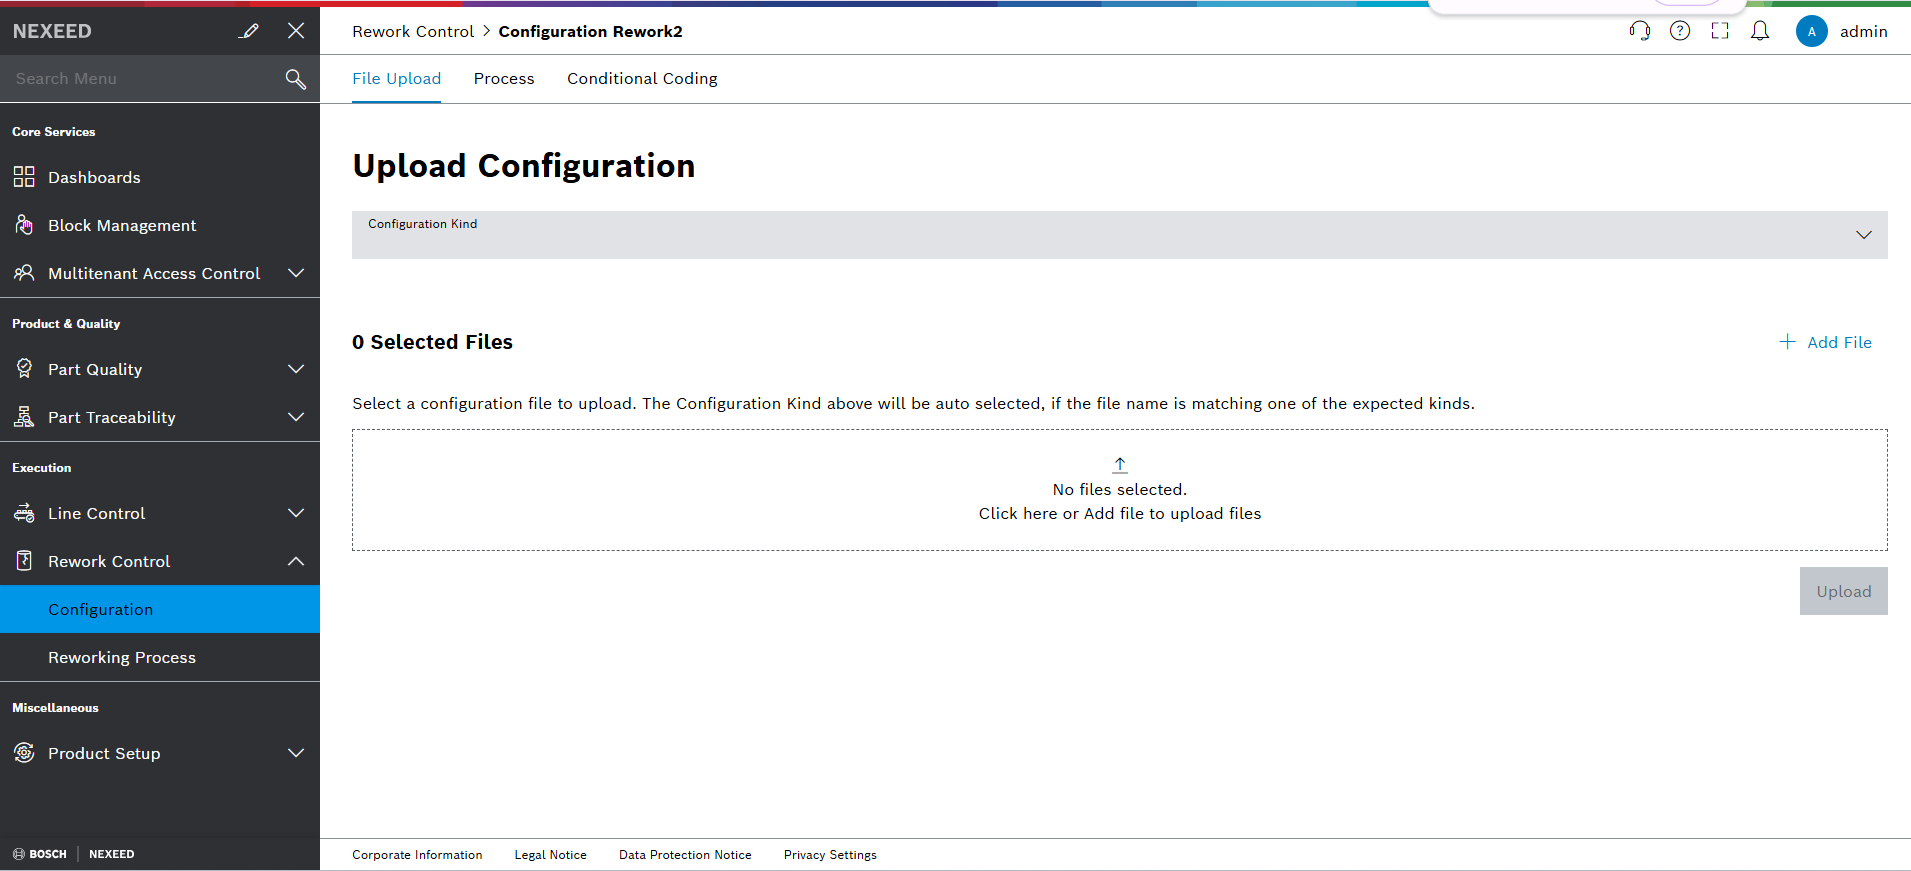
rcc_stationui_webconfig_configuration

File Upload Tab

The File Upload tab allows users to upload configuration files in different formats such as JSON and XML.

File Upload Features:
  1. Configuration Kind Field: Select the configuration type from a predefined list

    rcc_stationui_webconfig_configkind_2025.12
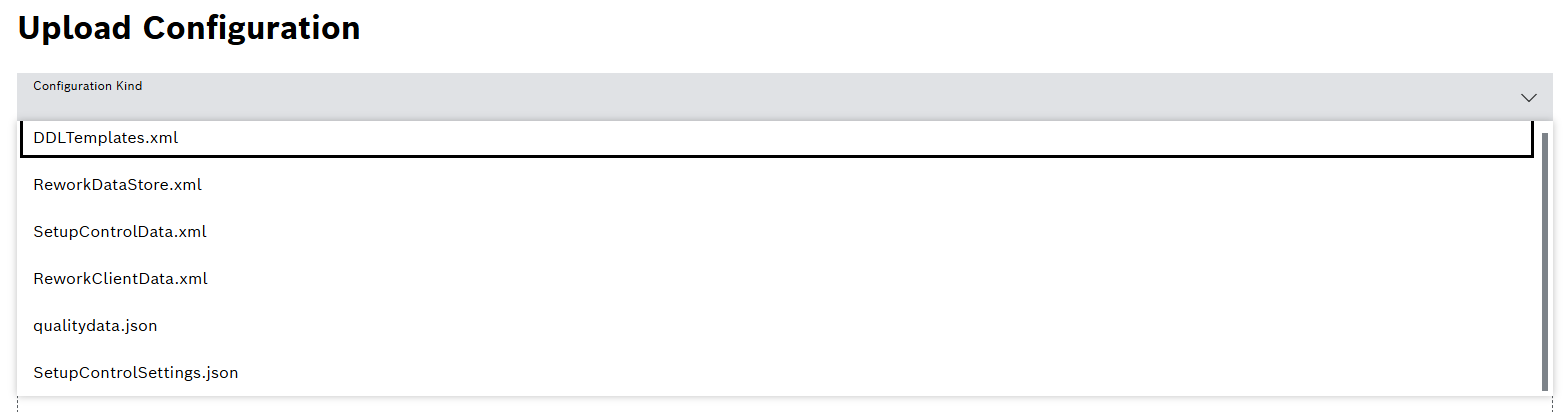
    The Configuration Kind will be auto-selected if the uploaded file name matches one of the expected kinds.
  2. add Add File or click here: Upload configuration files by clicking this area. Users can also drag and drop files here.

    rcc_stationui_webconfig_add_2025.12
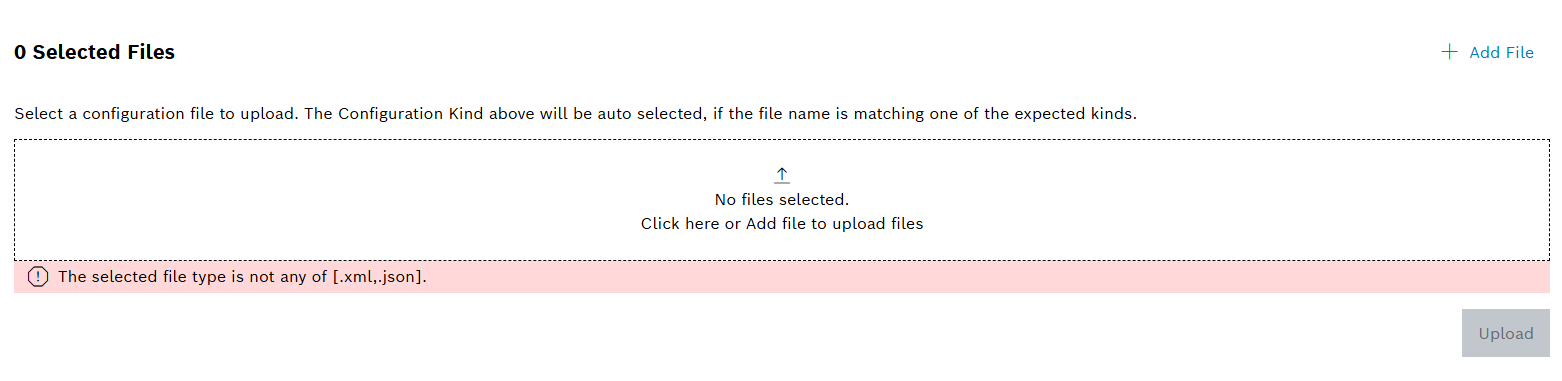
    If the uploaded file format is not supported, a warning message The selected file type is not any of [.xml,.json] will be displayed.
    If the uploaded file does not match specific kind, a warning message Selected file does not match specified kind. will be displayed.
  3. Upload Button: Click "Upload" to save the selected file to the system

    A success message will be displayed once the file is uploaded successfully.
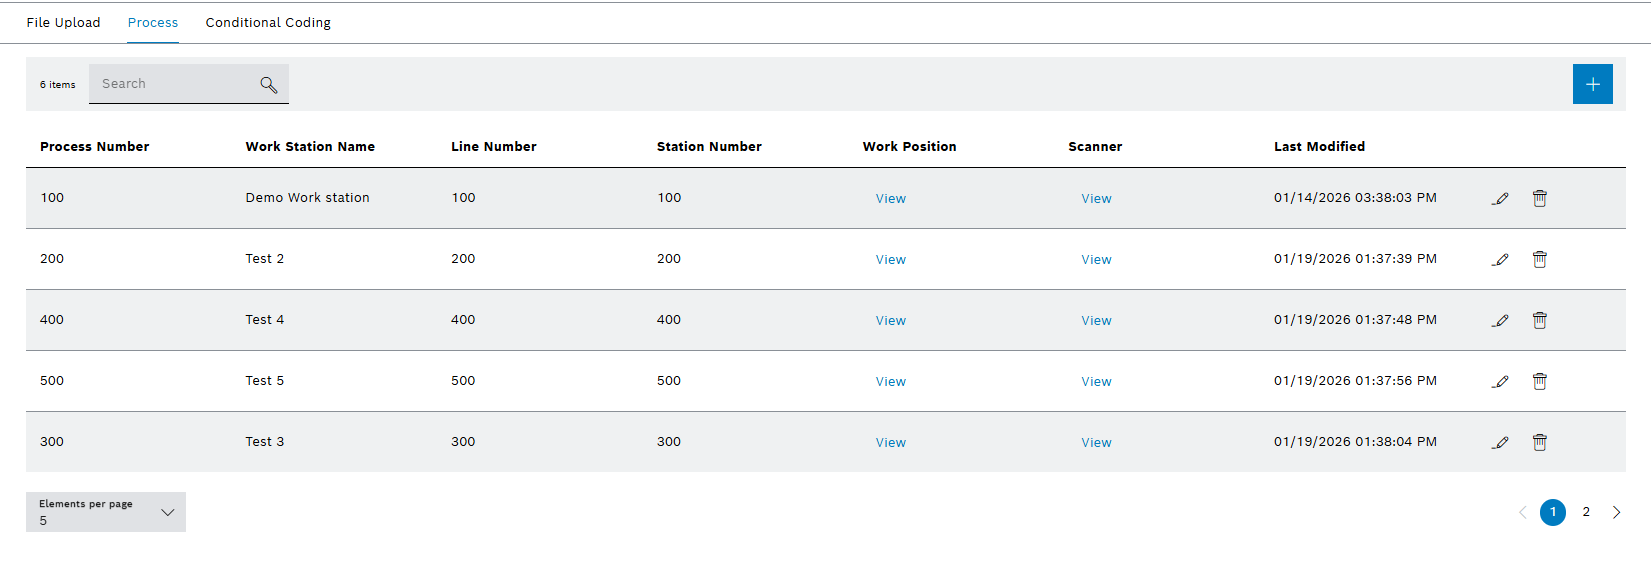
Process Tab

The Process tab provides comprehensive functionality to view, add, edit, and delete processes in the system.

Process Management Features

  1. Viewing Process Details

    This section displays a comprehensive list of all processes with detailed information for each process.

    rcc_stationui_webconfig_process
    • search Search Field: Filter through process items using the search functionality

    • add_border Add New Process: Create a new process in the system

    • Process Table: Contains all process data in a structured tabular format for easy viewing and management

      Element Description

      Process Name

      Displays the Process Name

      Process Number

      Displays the Process Number

      Work Station Name

      Displays Work Station Name

      Line Number

      Displays the Line Number

      Station Number

      Displays the Station Number

      Work Position

      Click on View to display the list of Work Position

      Scanner

      Click on View to display the list of Scanner

      Last Modified

      Displays the Last Modified Date

      edit Edit

      Select to edit process

      delete Delete

      Select to delete process

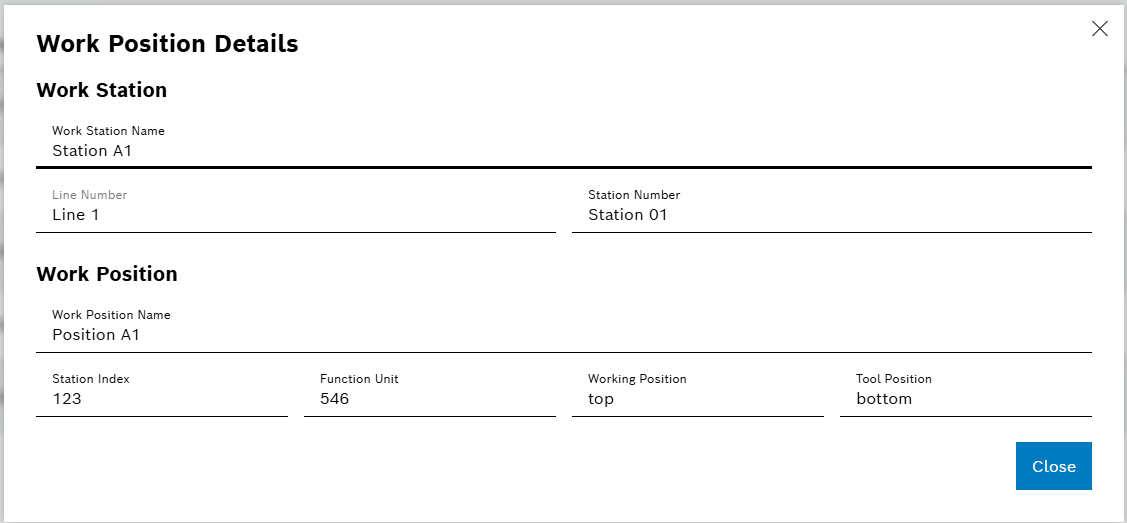
    • Work Position Details: Click "View" under the Work Position column to access detailed work position information and configuration settings

      rcc_stationui_webconfig_process_workposition
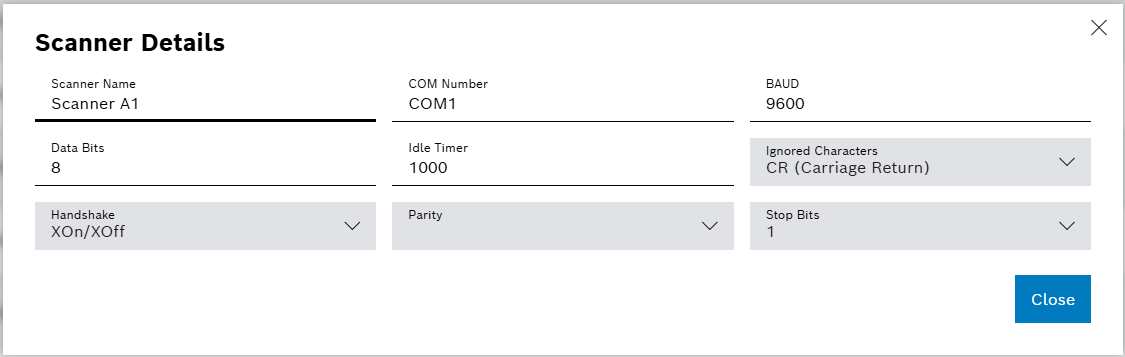
    • Scanner Details: Click "View" under the Scanner column to access scanner-specific details and configuration options

      rcc_stationui_webconfig_process_scanner
  2. Adding New Processes

    Click the add_border Add button to create a new process in the system.

    rcc_stationui_webconfig_process_add
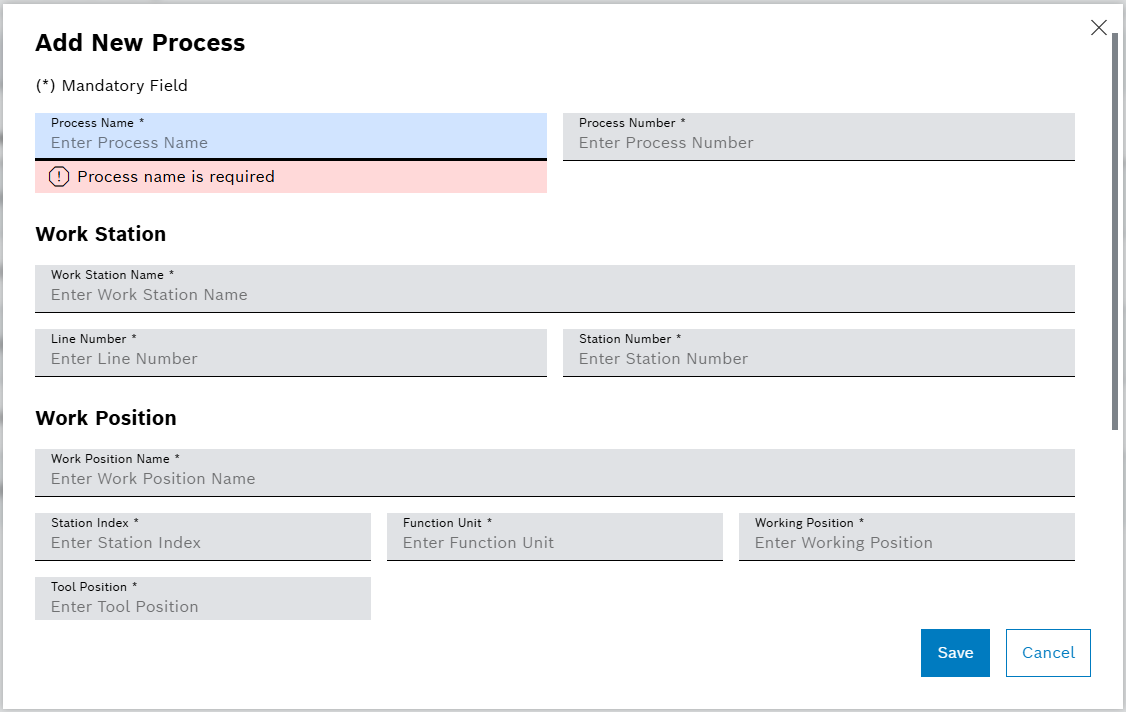
    All required fields must be completed to create a new process successfully.
  3. Edit Process

    Click the edit Edit icon to modify an existing process configuration.

    rcc_stationui_webconfig_process_edit
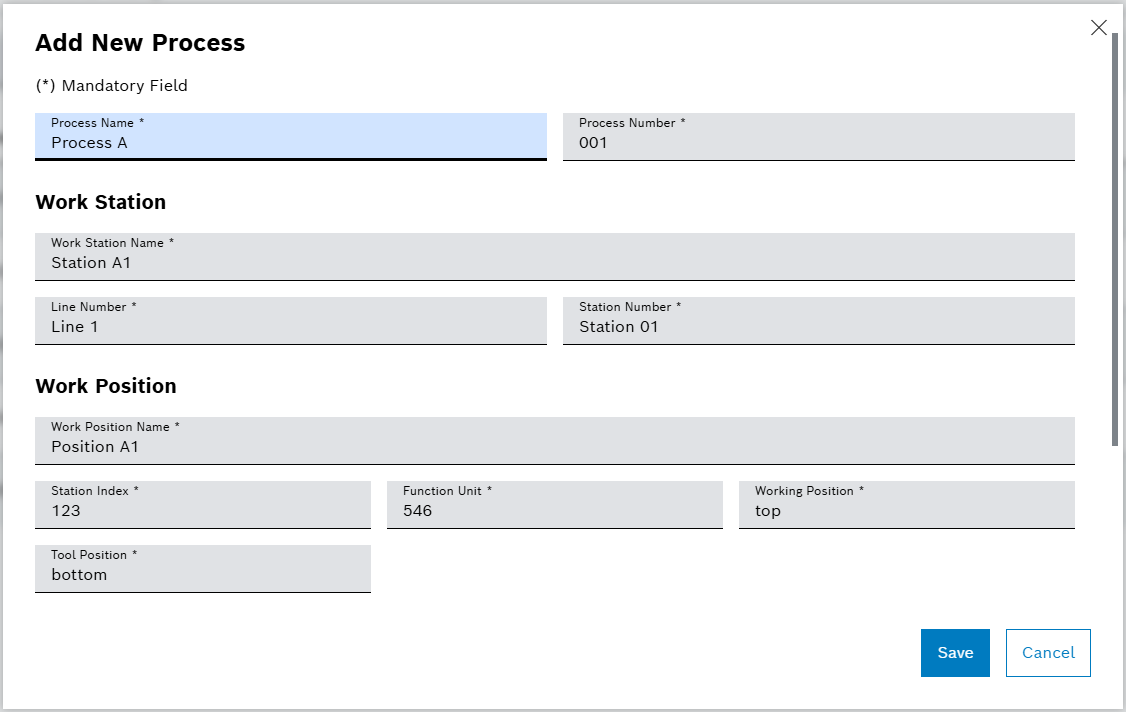
    All fields are auto-populated with existing values. Modify the required values and click "Save" to update the process.
  4. Delete Process

    Click the delete Delete icon to remove a process from the system. A confirmation dialog will appear - click Delete to confirm the removal.

    rcc_stationui_webconfig_process_delete
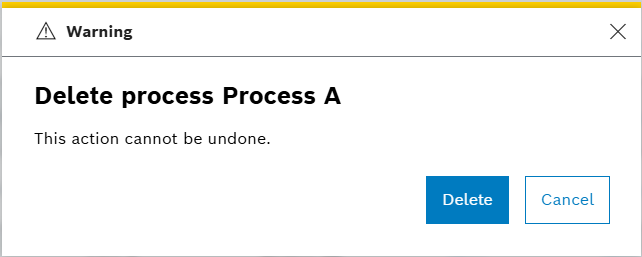
    This action cannot be undone. Ensure you want to permanently delete the process before confirming.

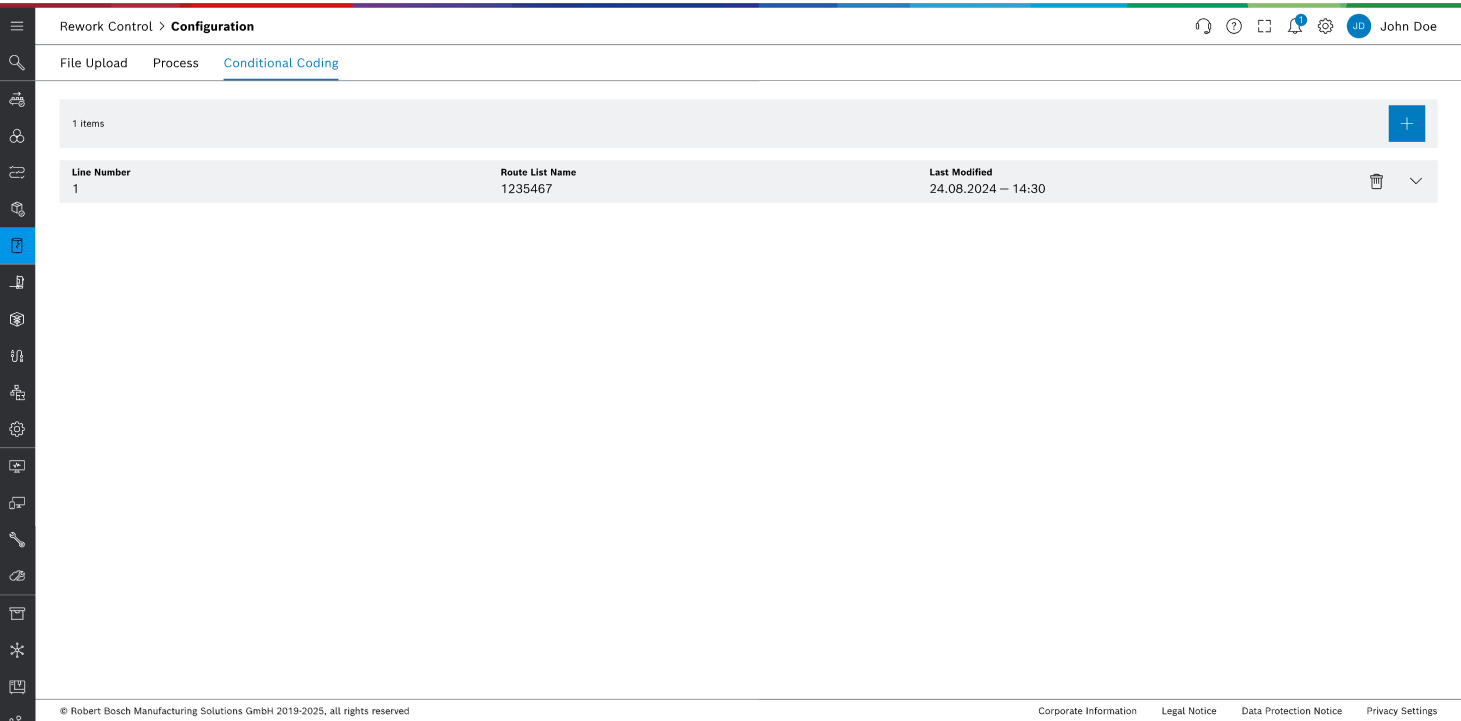
Conditional Coding Tab

The Conditional Coding tab provides comprehensive functionality to view, add, and delete route lists in the system. Also it is useful for assigning target process to a process.

The Routes should be same as the Route Lists in Line Control.

Route List Features

  1. Viewing Route List Details

    This section displays a comprehensive list of all route lists with detailed information for each process.

    rcc_stationui_webconfig_conditional_coding
    • search Search Field: Filter through route list items using the search functionality

    • add_border Add New Route: Create a new route list in the system

    • Routes Table: Contains all route list data in a structured horizontal card format for easy viewing and management

      Element Description

      Route List Name

      Displays the Route List Name

      Line Number

      Displays the Line Number

      Last Modified

      Displays the Last Modified Date

      delete Delete

      Select to delete Route

      view View

      Select to view process of the route

    • Process Details: Click view to view the process list information

      rcc_stationui_webconfig_conditional_coding_process
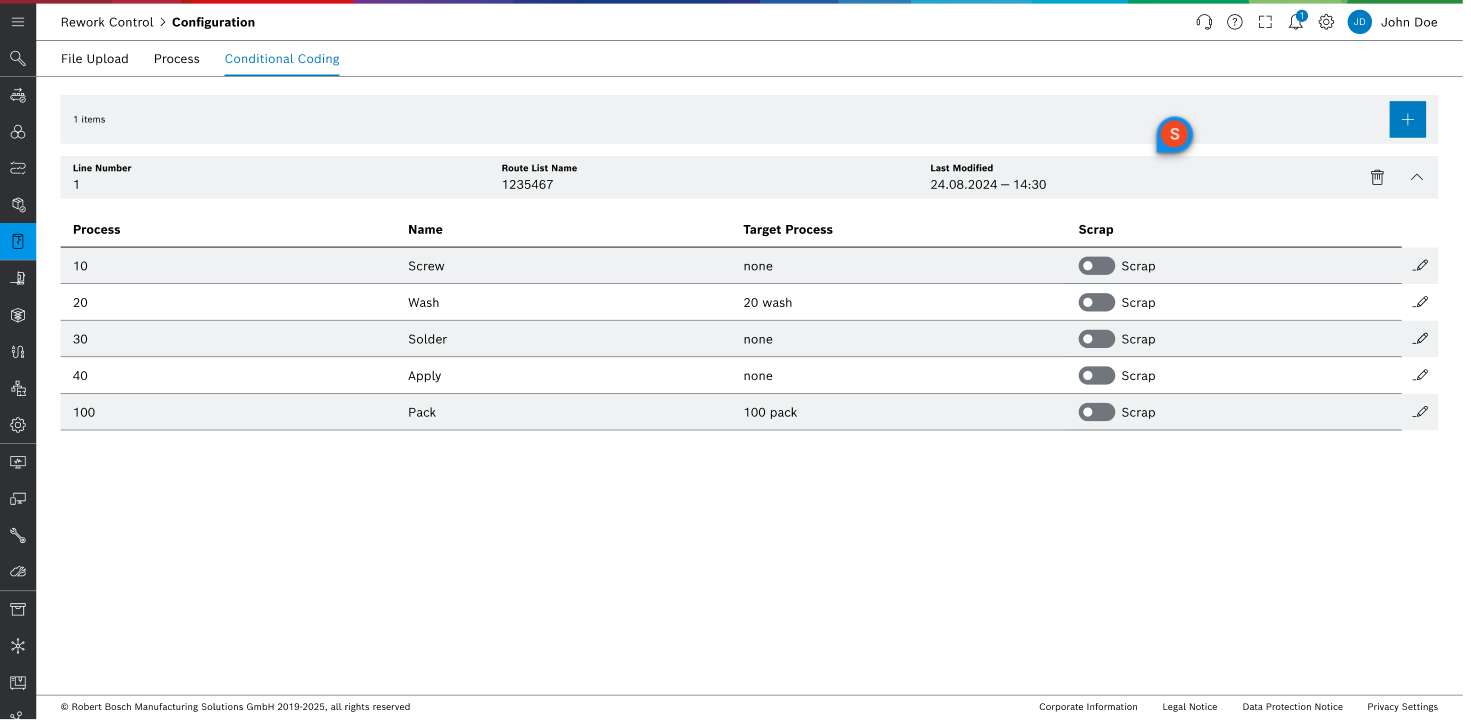
    • Route Process Table: Contains all process data in a structured tabular format for easy viewing and management

      Element Description

      Process

      Displays the Process Number

      Name

      Displays the Process Name

      Target process

      Displays the next targeted process

      Scrap

      Shows whether the process is scrapped or not

      edit Edit

      Select to edit process

  2. Adding New Route List

    Click the add_border Add button to create a new route in the system.

    rcc_stationui_webconfig_add_route_list
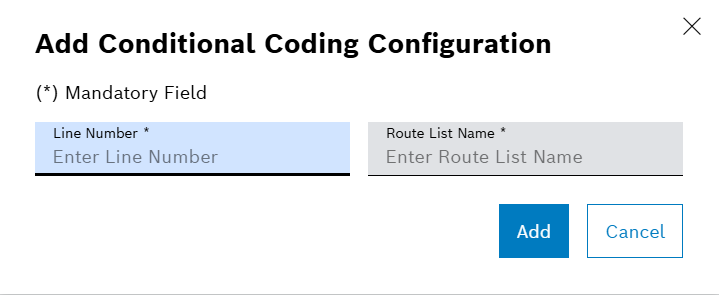
    All required fields must be completed to create a new route successfully.
  3. Delete Route List

    Click the delete Delete icon to remove a route from the system. A confirmation dialog will appear - click Delete to confirm the removal.

    rcc_stationui_webconfig_delete_route_list
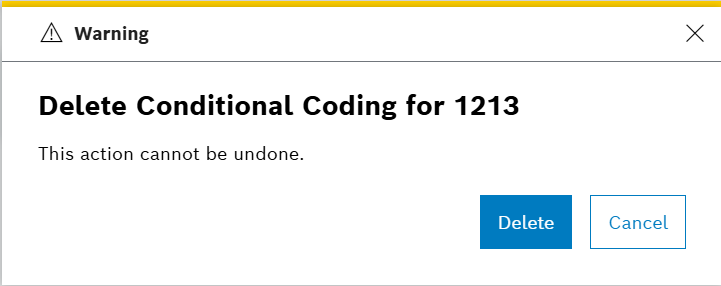
    This action cannot be undone. Ensure you want to permanently delete the route before confirming.
  4. Edit Route Process

    Click the edit Edit icon to modify an existing process configuration.

    rcc_stationui_webconfig_edit_route_list
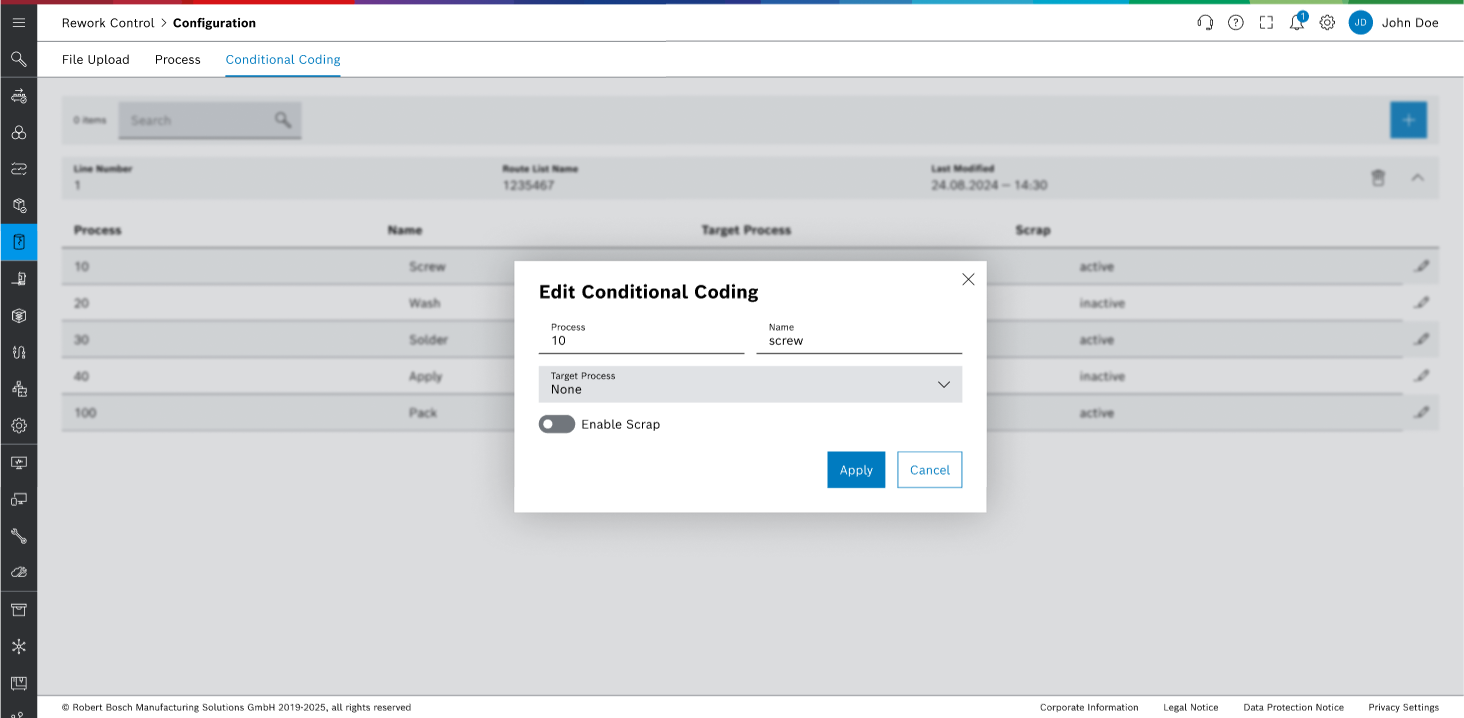
    All fields are auto-populated with existing values. Modify the required values (Target Process & Scrap) and click "Apply" to update the target process.

Contents

© Robert Bosch Manufacturing Solutions GmbH 2023-2025, all rights reserved

Changelog Corporate information Legal notice Data protection notice Third party licenses