Working with tasks
Assign a corrective or preventive task to a user
If the corrective or preventive task has to be resolved by another user or by another department, this resolving group can be changed in the task details. In addition, a responsible person can be selected.
|
The solution group and person responsible can only be changed for tasks that have not yet been started. |
Prerequisites
-
UserorAdministratorrole -
The user must be part of the resolving group and be selected as the responsible person.
Procedure
-
Open the Maintenance > Machine Maintenance menu entry.
Or:
Open the Maintenance > Tool Maintenance menu entry.
-
Select a corrective or preventive task.
Example: Corrective Task
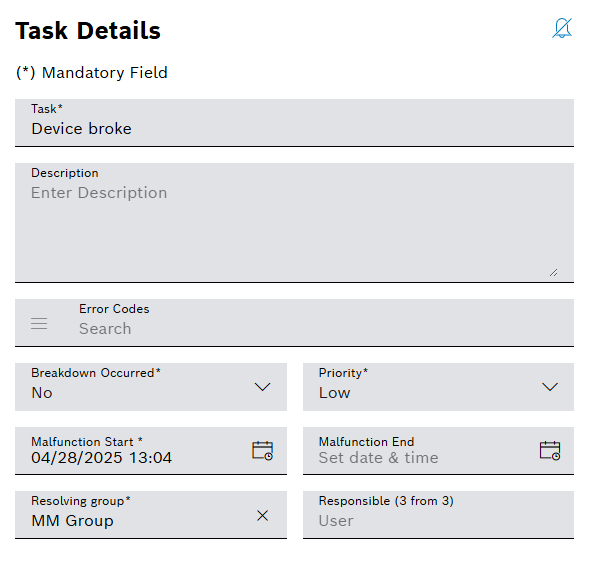
-
Select the Resolving Group.
-
Optionally, select resolving group related user in the Responsible field.
-
Confirm details with Save.
The corrective or preventive task is assigned to a resolving group and a user.
Confirm working time for a corrective or preventive task
Working times can be confirmed for corrective and preventive tasks. The confirmed working time is displayed in the detailed view of the task in the Work History tab. Confirmed working times cannot be edited after creation.
Prerequisite
User or Administrator role
Procedure
-
Open the Maintenance > Machine Maintenance menu entry.
Or:
Open the Maintenance > Tool Maintenance menu entry.
-
Select a corrective or preventive task.
-
In the detailed view, select Confirm Working Time in the footer.

-
Enter Working Time.
-
Enter the Description.
-
To confirm the working time, select Confirm.
Or:
To confirm the working time and set the status of the corrective or preventive task to Resolved, select Confirm And Resolve.
The confirmed working time is displayed in the detailed view of the corrective or preventive task in the Work History tab.
Change the status of a corrective or preventive task
Depending on the status of the corrective or preventive task, the Set In Progress or Resolve field is displayed in the footer of the task details.
Prerequisites
-
UserorAdministratorrole -
The user must be am member of the Resolving Group and selected in the Responsible field.
Assign a corrective or preventive task to a user -
To change the status of a corrective or preventive task, all mandatory fields must be filled.
Procedure
-
Open the Maintenance > Machine Maintenance menu entry.
Or:
Open the Maintenance > Tool Maintenance menu entry.
-
Select a corrective or preventive task.
-
To set the status of the corrective or preventive task to Started:
-
Select Set In Progress in the footer of the task details.
-
In dialog window:
Select Set In Progress.
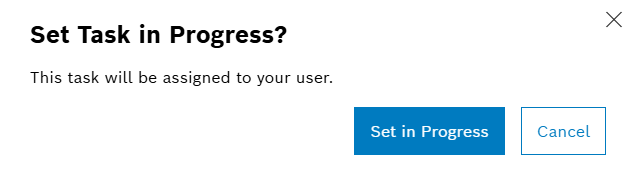
The corrective or preventive task has the Started status and can be appraised.
-
-
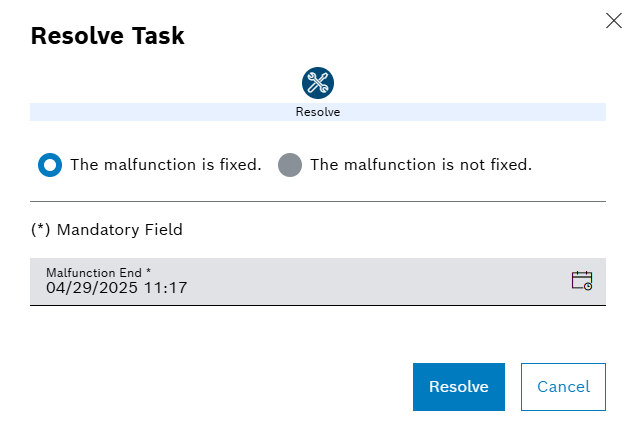
To set the status of the corrective or preventive task to Resolved:
-
Select Resolve in the footer of the task details.
-
In dialog window for corrective task:
Choose if malfunction is fixed or not. If malfunction is fixed, select Malfunction End.
-
In dialog window for preventive task:
If enabled, select the Result Classification from drop-down list.
In case instruction results are pending, select the corresponding checkbox.
Or:
Cancel the dialog and mark each pending instruction result within the task before retrying to resolve the task.
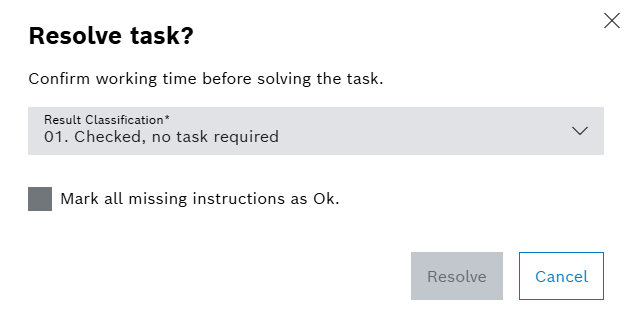
-
Confirm with Resolve.
-
The corrective or preventive task has the Resolved status and can no longer be modified.
Reserve spare parts for a corrective or preventive task
If spare parts are required to solve a machine’s corrective or preventive task, they can be ordered on the Spare Parts tab.
Prerequisite
User or Administrator role
Procedure
-
Open the Maintenance > Machine Maintenance menu entry.
-
Select a corrective or preventive task.
-
In the detailed view, click on the Spare Parts tab.
-
To search for a spare part, select Bill Of Material or Warehouse and enter the name of the spare part in the search field.
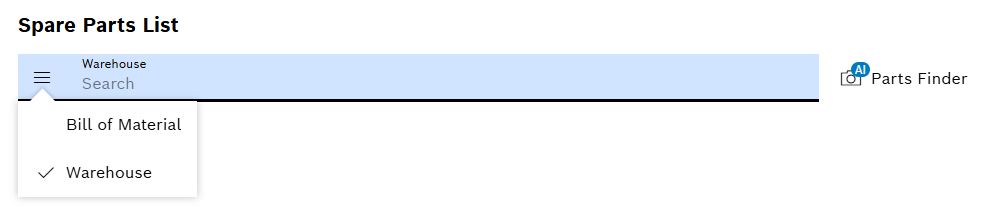
Or:
Click on
 in case of Bosch Cognitive Service is enabled.
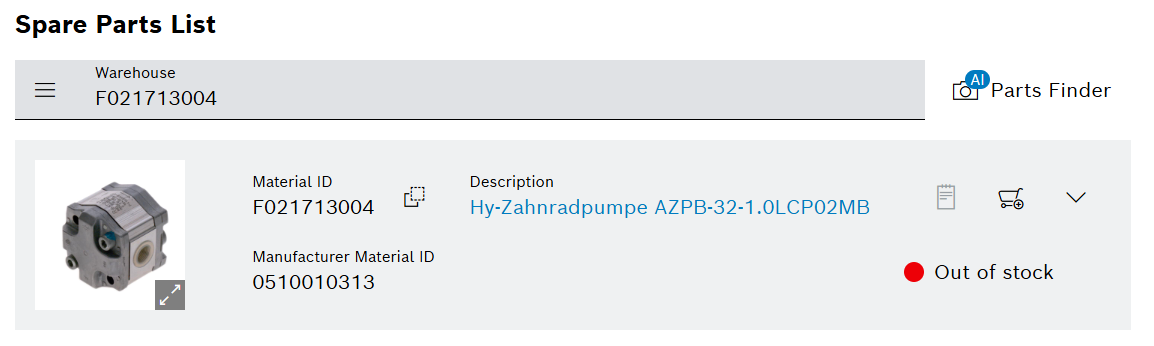
The spare parts list will be displayed:
Spare Parts List
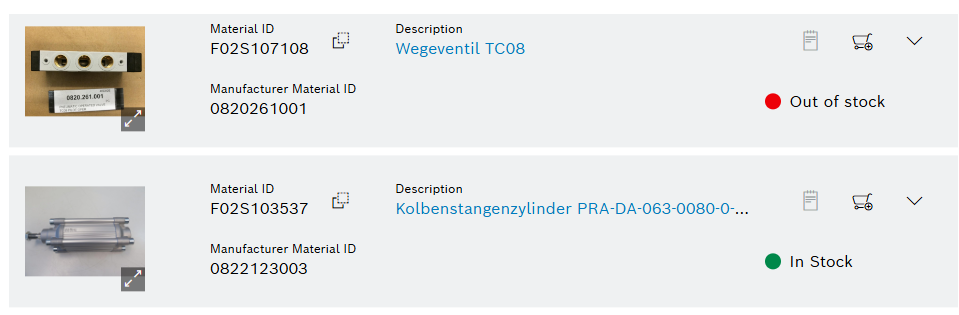
Element / Icon Description Spare part image
If available, the spart image is displayed offering an fullscreen option showing all available images.
Material ID
Material id.
The value can be copied to the clipboard using
 .
.Manufacturer Material ID
Material id of the manufacturer
Description
Description of the spare part. The full description can be accessed via click on desription.

Open notes for spare part.

Open spare part details for reservation.
 /
/ 
Expand / Collapse row to see / hide additional content of Type Code, Leading Material ID, Successor Material and Old Material Id.
Type Code
Type code.
Leading Material ID
Leading material id.
Successor Material
Successor material id.
The value can be copied to the clipboard using
.Old Material Id
Old material id.
The value can be copied to the clipboard using
. -
In the spare parts results list, press
to select the spare part.The spare part will be displayed with reservation options:
Spare Part
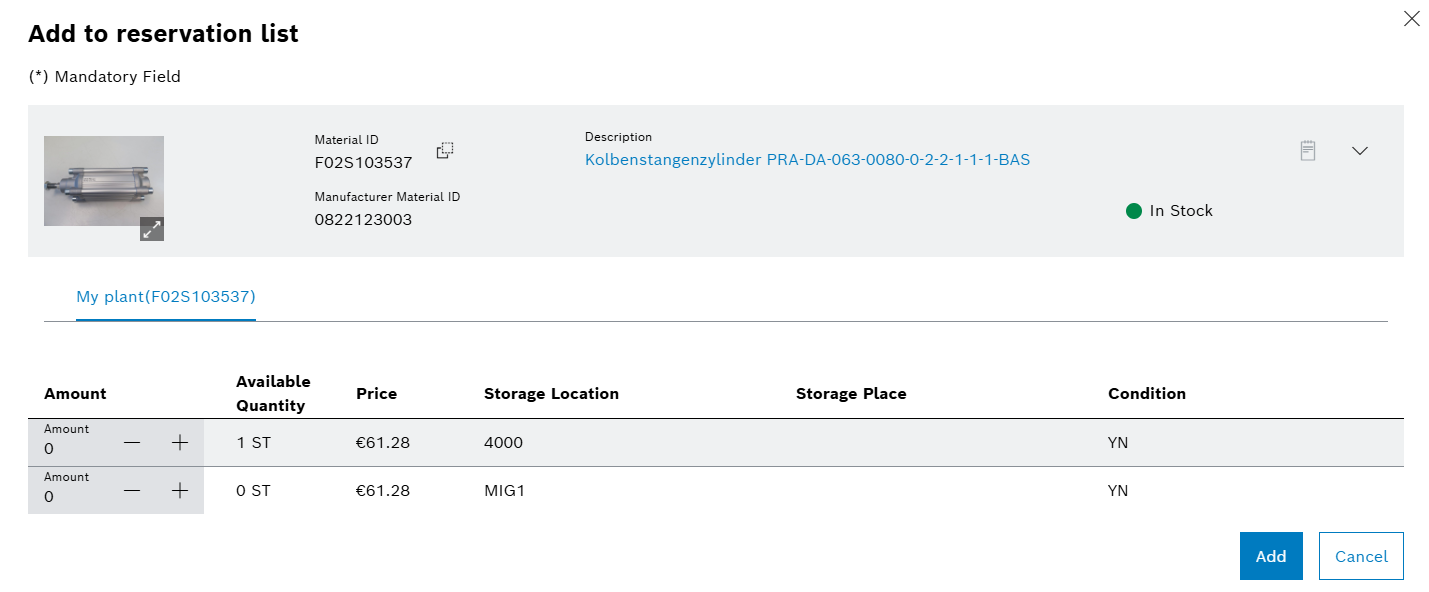
Element / Icon Description Spare part image
If available, the spart image is displayed offering an fullscreen option showing all available images.
Material ID
Material id.
The value can be copied to the clipboard using
.Manufacturer Material ID
Material id of the manufacturer
Description
Description of the spare part. The full description can be accessed via click on desription.
Open notes for spare part.
/ Expand / Collapse row to see / hide additional content of Type Code, Leading Material ID, Successor Material and Old Material Id.
Type Code
Type code.
Leading Material ID
Leading material id.
Successor Material
Successor material id.
The value can be copied to the clipboard using
.Old Material Id
Old material id.
The value can be copied to the clipboard using
.Amount
Selection for amount.
Available Quantity
Available quantity.
Price
Price for one spare part.
Storage Location
Location where spare part is stored.
Storage Place
Place where spare part is located.
Condition
Condition of the spare part.
-
Enter Amount.
Or:
Select Amount with + and -.
-
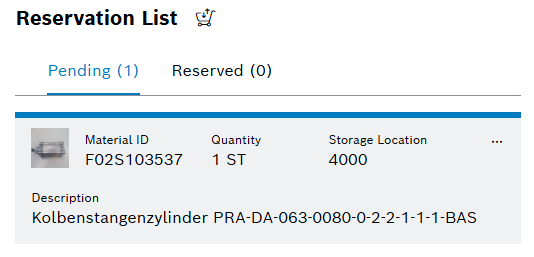
Add spare parts to the Reservation List with Add.
The spare part with the specified quantity is displayed in the Reservation List | Pending tab.
-
Repeat steps 4–7 for all required spare parts.
-
To change the quantity of a spare part in Reservation List | Pending tab, select spare part and change the quantity with
 Edit.
Edit. -
To delete a spare part from Reservation List | Pending tab, select the spare part and delete with
Remove. -
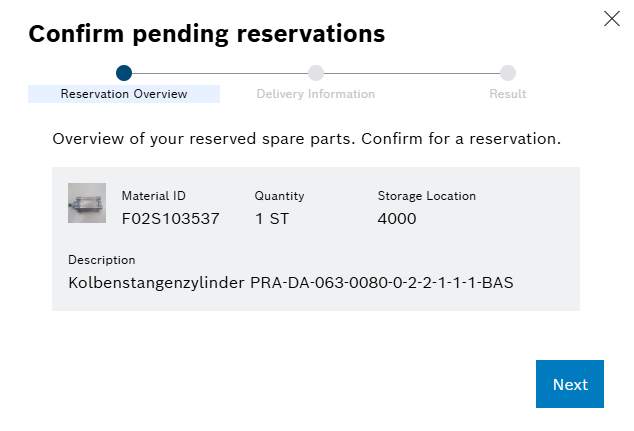
Reserve spare parts with Confirm Pending Reservations.
-
In the Confirm Pending Reservations dialog window, check spare parts and click Next.
-
Enter the delivery location information and click Confirm
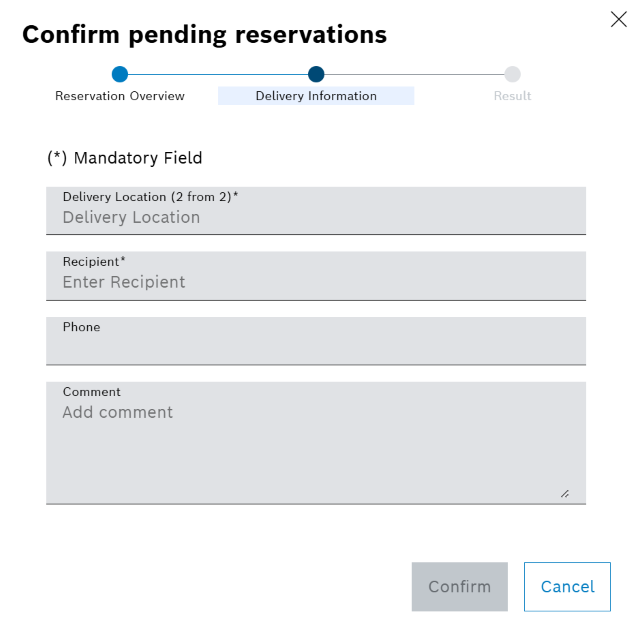
The spare parts are displayed in the Reservation List | Reserved tab. The spare parts are ordered.
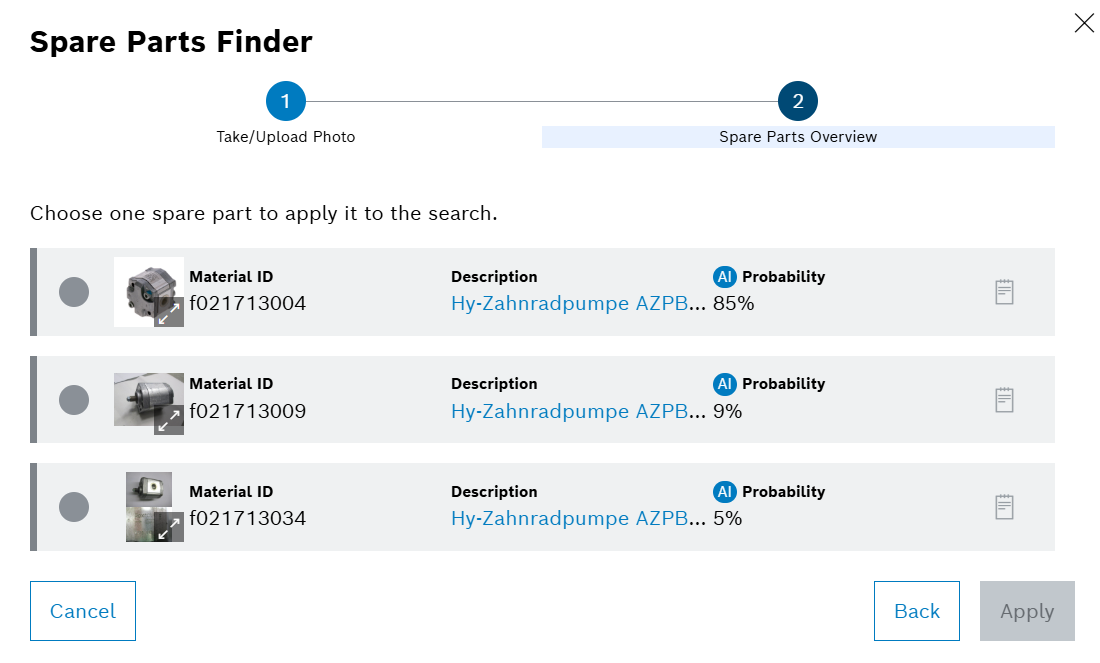
Using Bosch Cognitive Service for spare parts identification
Spare parts can be identified using the Bosch Cognitive Service. This AI based search is using an uploaded photo for identifying possible spare part matches and delivers a predictability in percentage.
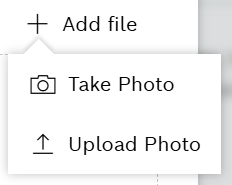
After click on the following dialog is shown:

-
To add an image select + Add File and select Take Photo via built-in camera or Upload Photo from user’s device.
Or:
Drag and drop the file into the field.
-
Select Next
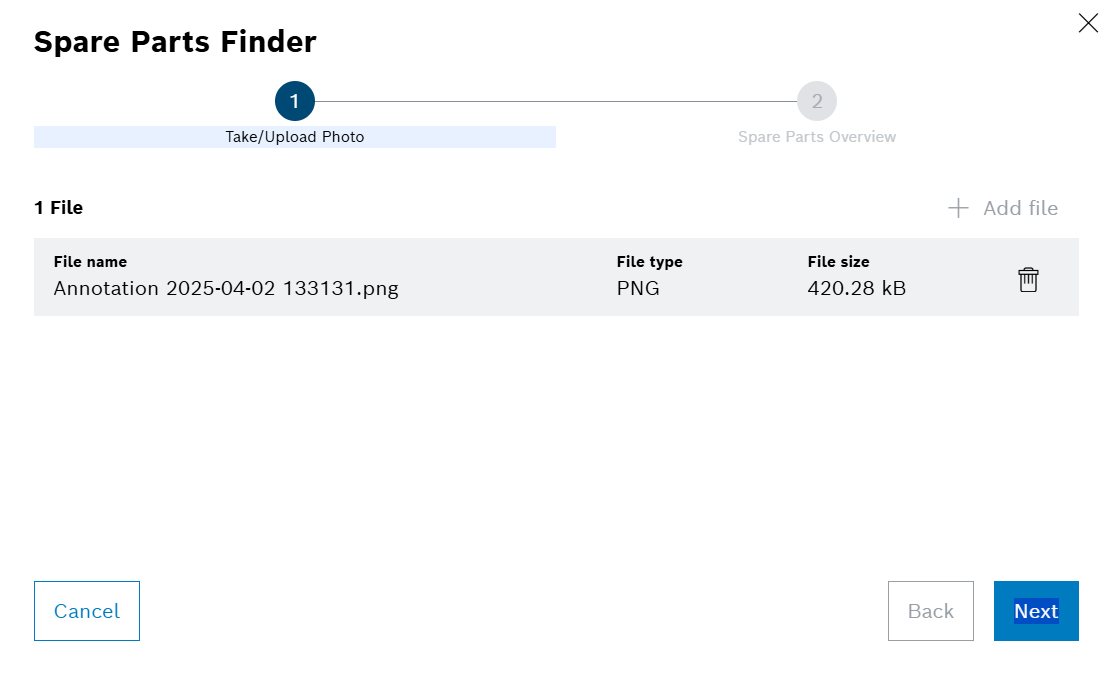
-
Wait for analysis result.
-
Select a spare part from the results list.
-
Select Apply.
The warehouse spare parts list is filtered to the identified spare part.
Manage attachments for a corrective or preventive task
Any number of attachments can be added for a corrective or preventive task.
Prerequisite
User or Administrator role
Procedure
-
Open the Maintenance > Machine Maintenance menu entry.
Or:
Open the Maintenance > Tool Maintenance menu entry.
-
Select a corrective or preventive task.
-
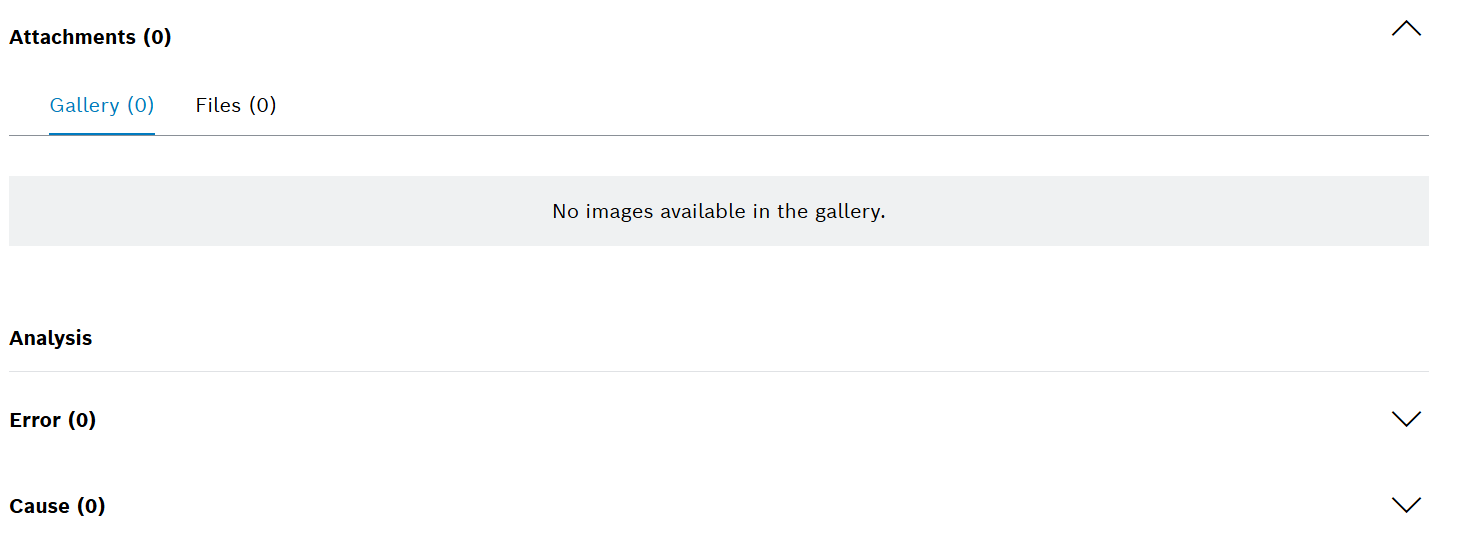
In the detail view, click on the Attachments tab.
Example: Corrective Task
-
Click on the Files tab.
-
Select Permitted file extensions with
 Add Attachments.
Or:
Drag and drop the file into the field.
-
To download a file, use
 .
. -
To remove a file, use
 .
. -
To display a file, click on the Gallery tab.
The desired files are available in the Attachments tab.
Permitted file extensions
|
Uploading a file will fail in case its signature is not valid. In general file signature check is mandatory due to security reasons. |
| File type | File extension |
|---|---|
Image |
|
Video |
|
Audio |
|
Document |
|
Create a related task for an existing corrective or preventive task
Related tasks can be created if additional work has been noticed while the corrective or preventive task is being processed. Additional work can be created as related tasks in the detailed view of the corrective or preventive task.
Prerequisite
User or Administrator role
Procedure
-
Open the Maintenance > Machine Maintenance menu entry.
Or:
Open the Maintenance > Tool Maintenance menu entry.
-
Select corrective or preventive task.
-
In the detailed view of the Task Details, click on
 Create Task.
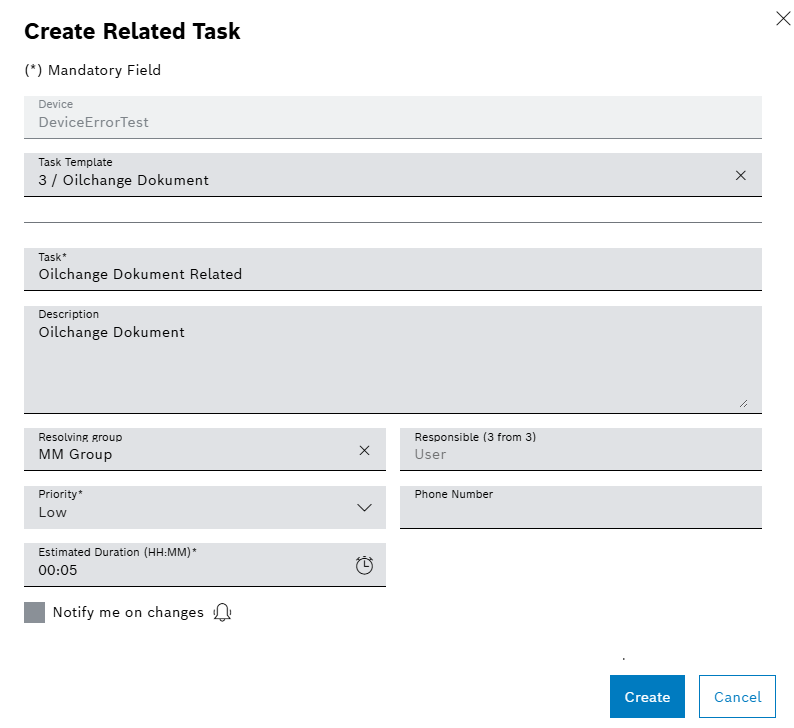
Example: Related preventive task creation
-
Device is automatically set and cannot be changed.
-
Select Task Template for a related preventive task.
-
Enter the name of the Task.
-
If notifications about changes to the status of the linked task are to be activated, activate the Notify Me On Changes
 checkbox.
 -
Select Error Codes for a related corrective task.
-
Enter the Description.
-
Select Resolving Group.
-
Select Responsible user.
-
Select Priority.
-
Enter the Phone Number for the responsible person.
-
Enter Estimated Duration for a related preventive task.
-
To add files to the task:
-
Use
Add Attachments to upload a file.Or:
-
Drag and drop the file into the Attachments field.
-
-
Use Create to create the related task.
The related task is displayed in the corrective or preventive task in Task Details below Related Tasks. Any related task is also displayed in the Maintenance > Tool Maintenance or Maintenance > Machine Maintenance menu entry.
-
To edit the task details for the related task:
Continue with Configure task details for a corrective task
Or:
Continue with Configure task details for a preventive task
-
To resolve the related task:
Continue with Appraise corrective task
Or:
Continue with Appraise preventive task
Quick actions
Depending on the task state, user permission, resolving group membership and assignment, quick actions are available for tasks in Kanban and list view.
Kanban view example
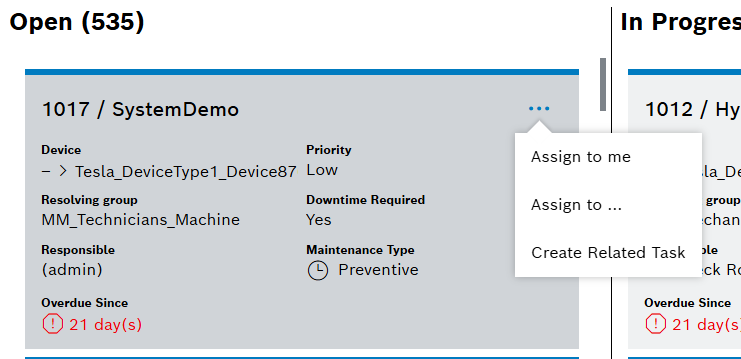
Quick action overview
| Task state | Quick actions |
|---|---|
New |
|
Started |
|
Prerequisite
User or Administrator role
Procedure
-
Open the Maintenance > Machine Maintenance menu entry.
Or:
Open the Maintenance > Tool Maintenance menu entry.
-
Click on
. -
In the context menu, select the desired action.
-
Dependent of the selected action, enter details as required.
The quick action has been executed.
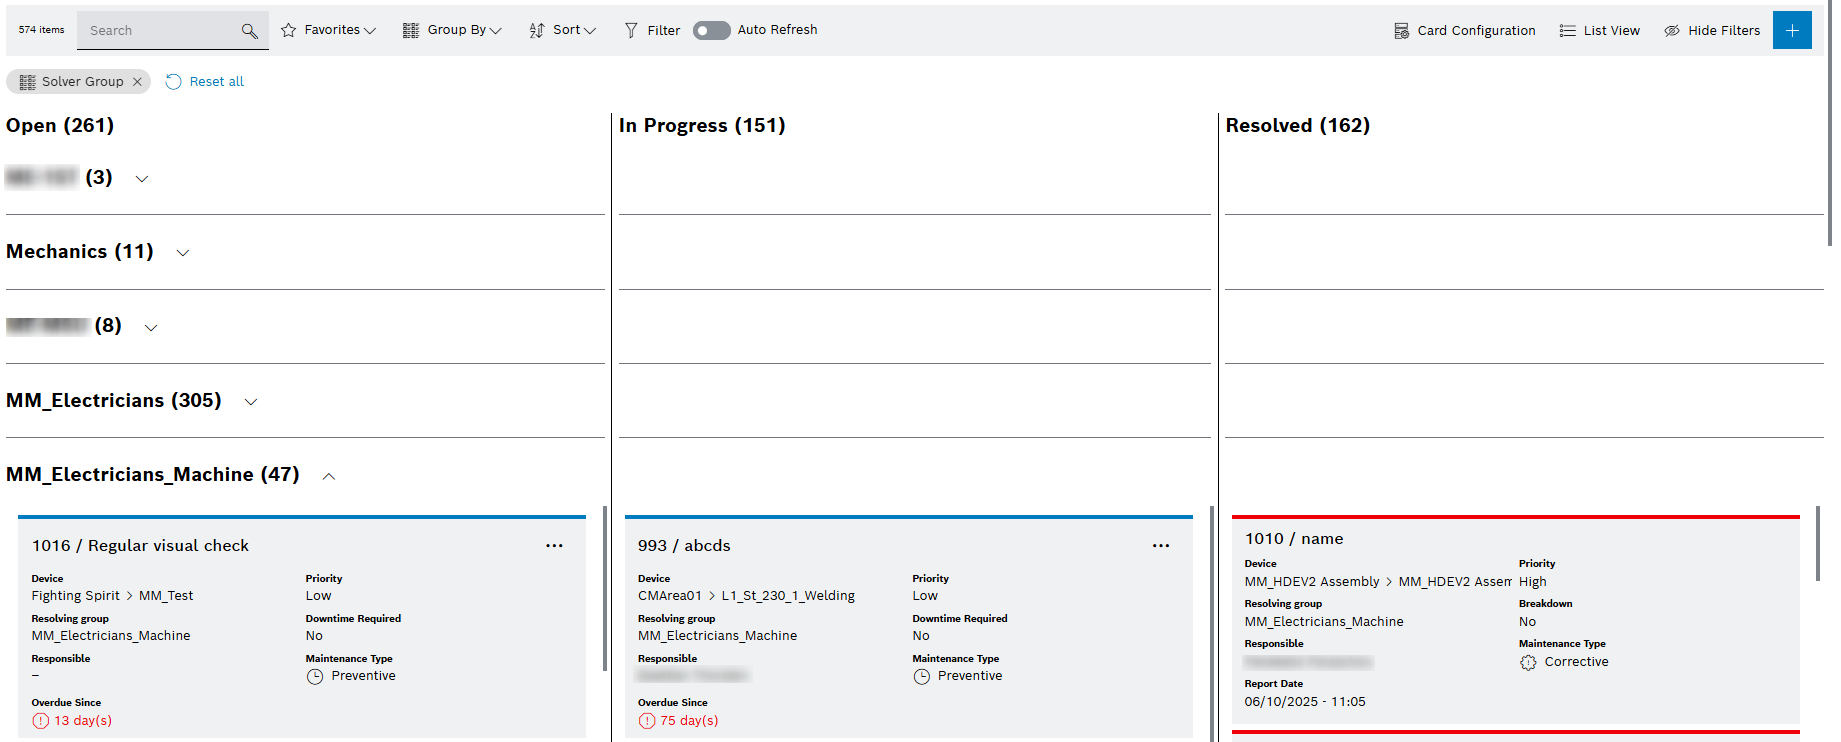
Use group by options
Tasks can be grouped by several options in Kanban and list view.
Kanban view example
Prerequisite
User or Administrator role
Procedure
-
Open the Maintenance > Machine Maintenance menu entry.
Or:
Open the Maintenance > Tool Maintenance menu entry.
-
Select the desired option from dropdown
 Group By in the command bar.
The tasks are shown as groups.