Web Portal configuration
The Web portal configuration can be used to configure global settings, privacy settings and footer settings as well as portal colors and a menu icon for user-defined branding. The user can create and manage custom modules and their views.
Prerequisite
Web Portal Admin or Web Portal Operator role
Procedure
-
In the header, select
 > Web portal configuration.
 -
To configure global settings and privacy settings, select the Footer and Privacy tab.
-
To configure the menu icon and the colors used in the portal, select the Skinning tab.
-
To register and configure custom modules, select the Module registration tab.
-
To create a custom view, select the View registration tab.
-
To show or hide individual menu items in the header, select the Configure Menus tab.
The settings and views are visible in the application.
Configuring footer and privacy settings
-
On the Web portal configuration page, click the Footer and privacy tab.
-
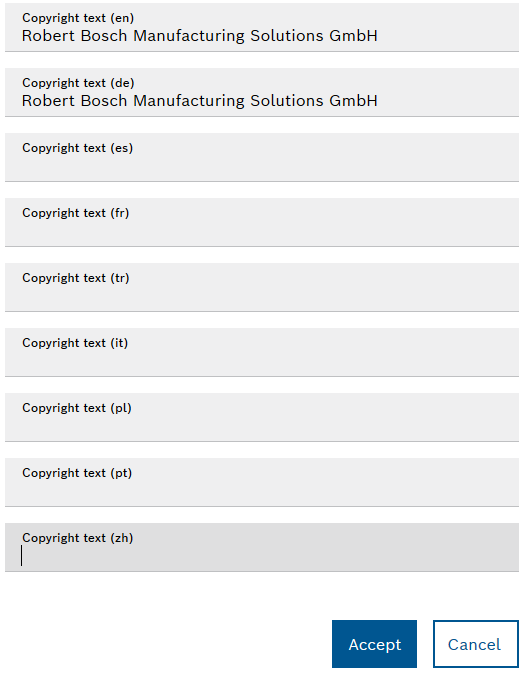
In the Global settings area, configure whether the footer is to be displayed and, if necessary, adjust the copyright text.
By default, the footer is displayed and the copyright text is blank. A copyright icon is automatically prefixed to the entry.
-
In the Privacy Settings area, enter the URLs for storing marketing and/or convenience cookies as well as the URLs for information about data security and editorial information.
-
In the Footer settings area, set whether a banner for the privacy settings should be displayed (default), whether convenience cookies should be automatically saved for all users and, if necessary, adjust the title for the privacy settings.
-
In the Footer links area, configure the following titles and URLs:
-
Title and URL for the Corporate Information
-
Title and URL for the Legal Notice
-
Title and URL for the Data Protection Notice
The specified footers (copyright, editorial information, privacy settings, etc.) must comply with the legal requirements.
-
-
To add another entry under Footer links , click + Add link.
-
To locate texts and URLs in a language-specific way, click
 . The number on the icon indicates how many translations already exist.
 -
In the following dialog, enter the text or URLs and click Save.
-
To accept the changes, click Save.
The changes are displayed on the pages of the Web Portal.
Configuring portal colors
-
Click Skinning on the Web portal configuration page.
-
In the Global settings area, configure whether the branding or a User-defined branding should be used.
Select Use user-defined branding to configure the portal colors.

-
Upload a menu icon in the Menu settings area
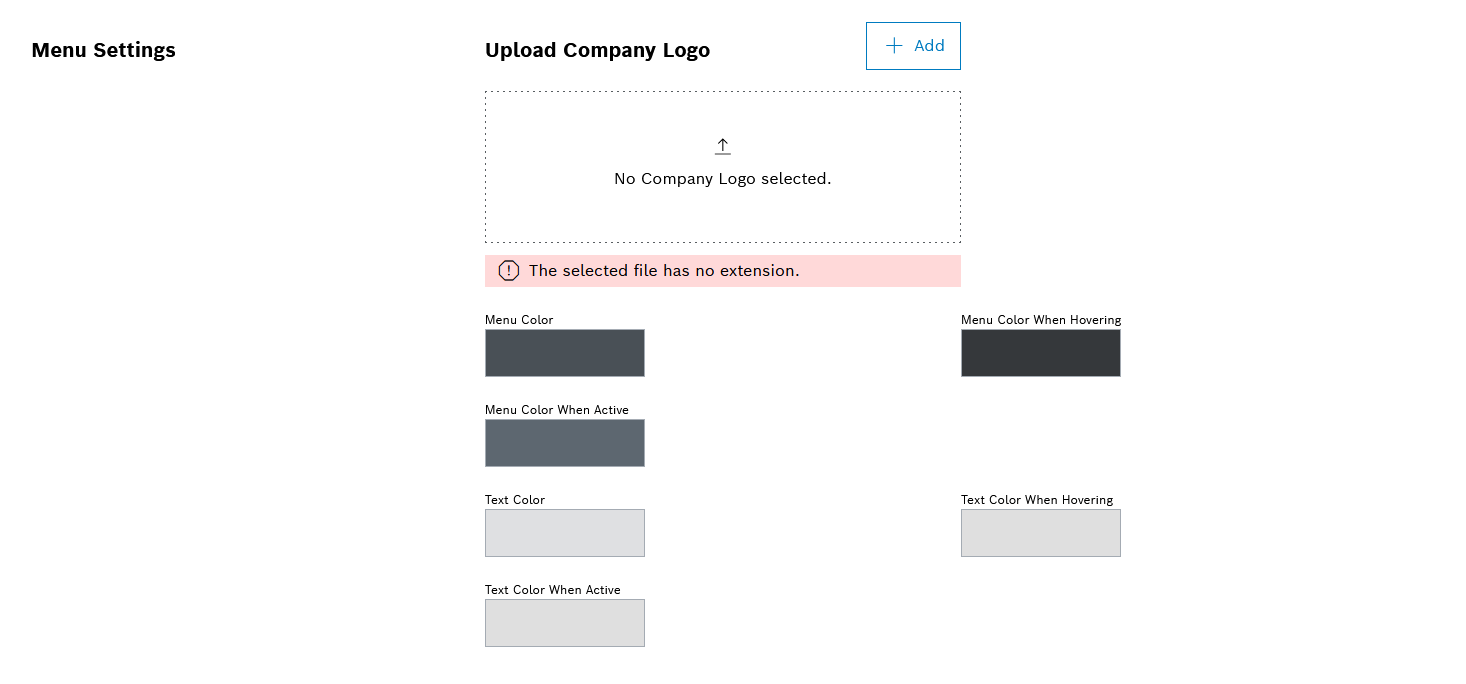
The icon appears in the upper left corner of the menu.
-
In the Menu settings area, configure the colors for menus, menu items, texts, etc. using a color selector or using RGB, HSL or hexadecimal values.
-
In the Header settings area, configure the color and height of the upper banner as well as the colors for the user avatars using a color selector or using RGB, HSL or hexadecimal values.

The changes are immediately displayed in the portal.
-
To accept the changes, click Apply theme.
The Web Portal is displayed with the changed settings.
|
The Apply theme button is grayed out by default. It cannot be clicked until a logo image has been uploaded. |
Registering a module
A system administrator registers a module, such as the module of a third-party supplier, in the Web Portal so that users of the Web Portal can access the views created for that module.
The views created for a module are displayed in the menu under Others and allow access to the module from the Web Portal.
Requirements
-
Rolle
Web Portal Operator -
At least one view is registered.
A user cannot access the module via the menu until then.
Procedure
-
In the top right of the user menu, select the Web portal configuration menu item and the Module registration tab.
-
Click
 .
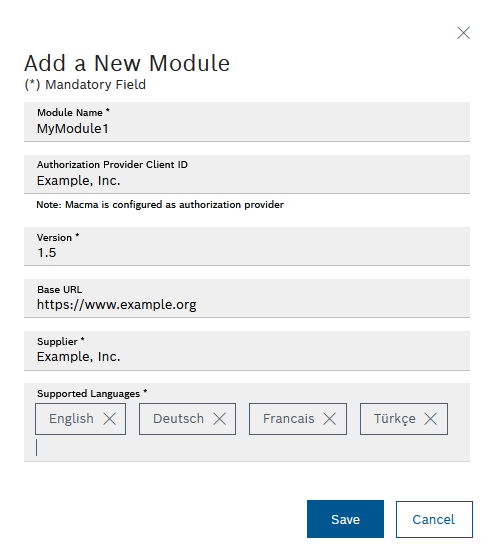
.The Add module dialog appears.
-
Enter details:
-
Module name
Specify a suitable name for the module.
-
Client ID of the authorization provider
Specify the client ID provided by the Multitenant Access Control module (menu item Access management ).
-
Version
-
Base URL
Specify the home page of the module.
-
Vendor
Specify the supplier of the module.
-
Supported languages
Click in the Supported languages field and select the language(s) from the list.
-
-
To register the module, click Save.
The module is registered and appears in the overview.
Editing a module
Prerequisite
Rolle Web Portal Operator
Procedure
-
In the top right of the user menu, select the Web portal configuration menu item and the Module registration tab.
-
Click in the row containing the required module.
The Edit module dialog appears.
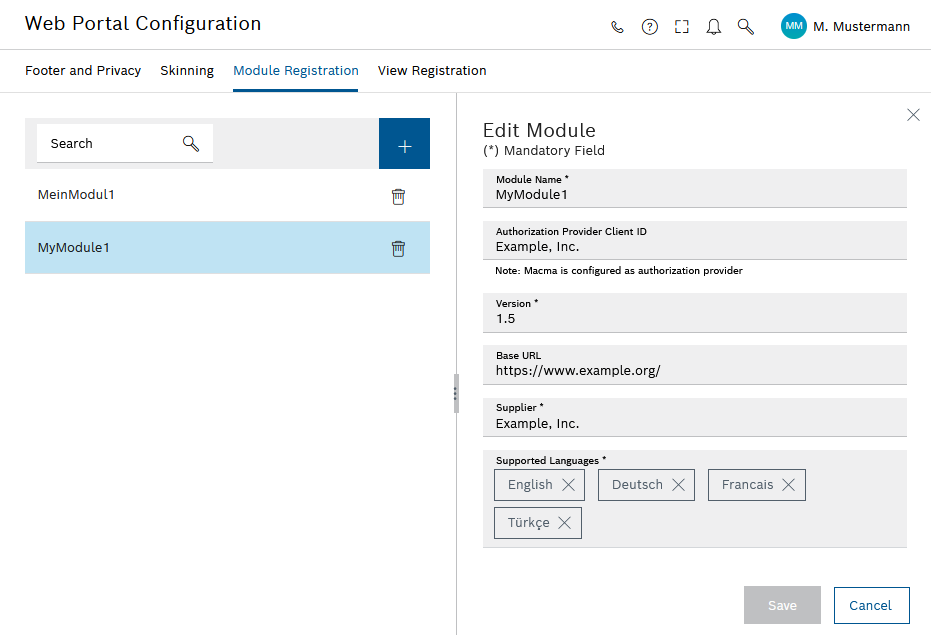
The elements in the display have the following meanings:
 Search Add
 Delete
 -
Edit the relevant information:
-
Module name
Specify the name of the module.
-
Client ID of the authorization provider
Specify the client ID provided by the Multitenant Access Control module (menu item Access management ): Adding a Module
-
Version
-
Base URL
Specify the home page of the module.
-
Vendor
Specify the supplier of the module.
-
Supported languages
Click in the Supported languages field and select the language(s) from the list.
-
-
To register the module, click Save.
The module is registered and appears in the overview.
Register view
For a module to appear in the menu, a system administrator must register a view for the module.
Requirements
-
Rolle
Web Portal Operator -
A module is registered
Procedure
-
In the user menu, select the Web Portal configuration menu item and the View registration tab.
-
To register a view, click
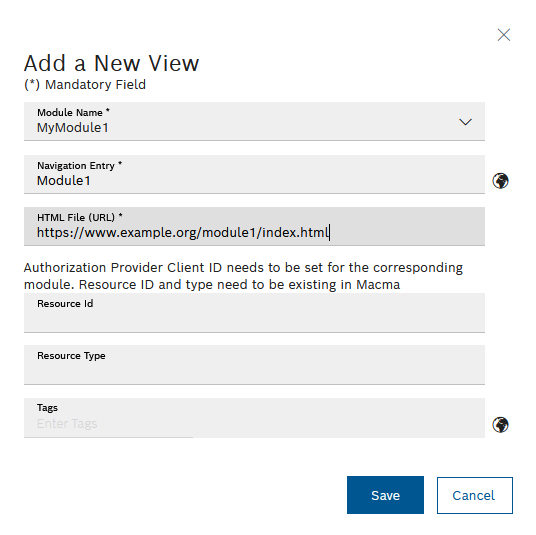
.The Add new view dialog appears.
-
Enter details:
-
Module name
Click in the Module name field and select a module that has already been registered from the drop-down list.
-
Navigation entry
Enter a designation for the view that should appear in the menu.
-
HTML file (URL)
Specify a complete web address for the view.
-
Resource ID
Resource ID from the Multitenant Access Management module (access management).
-
Resource type
Resource type from the Multitenant Access Management module (access management).
-
Tags
Enter keywords and end each entry with a comma or confirm by pressing the ENTER key.
The keywords can be used to find the view of the module via the search function and open it in the menu.Information can be edited later in the Edit view detailed view.
Edit View
-
-
To create language-specific navigation entries and tags, click
in the required row. -
To register the view, click Save in the Add new view dialog.
The view appears in the menu under Others .
Edit view
Requirements
-
Rolle
Web Portal Operator -
A view is registered.
Procedure
-
In the top right of the user menu, select the Web Portal configuration menu item and the View registration tab.
-
Click in the row containing the required view.
The Edit view dialog appears.
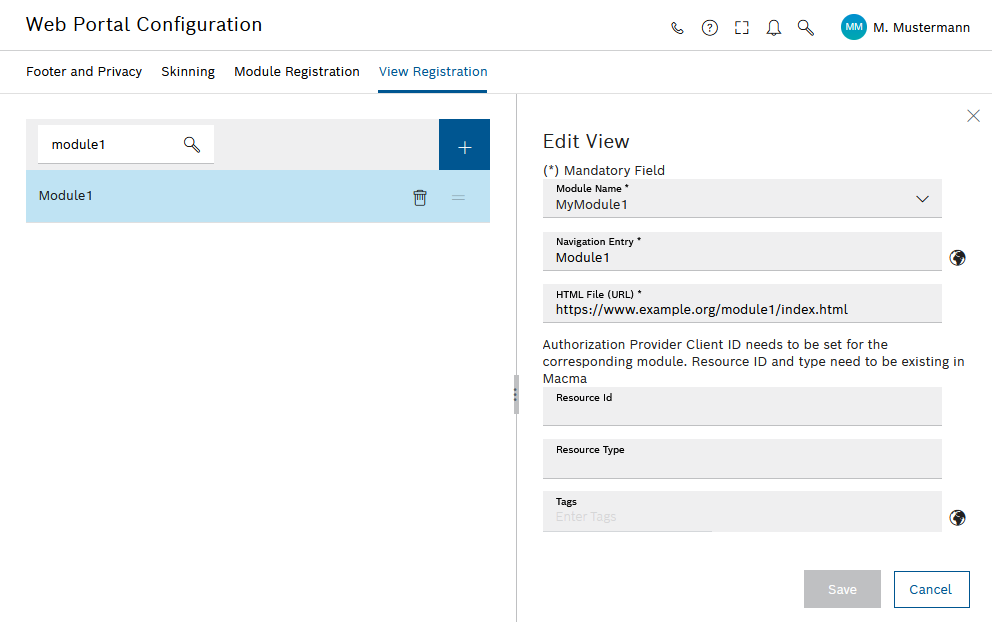
The elements in the display have the following meanings:
Search Add Delete Position
Move views using drag and drop.
-
Edit the relevant information:
-
Module name
Click in the Module name field and select a module that has already been registered from the drop-down list.
-
Navigation entry
Enter a designation for the view that should appear in the menu.
-
HTML file (URL)
Specify a complete web address for the view.
-
Resource ID
Resource ID from the Multitenant Access Control module.
-
Resource type
Resource type from the Multitenant Access Control module.
-
Tags
Enter keywords and end each entry with a comma or confirm by pressing the ENTER key.
-
-
To create language-specific navigation entries and tags, click
in the required row. -
To save the changes, click Save.
The changes appear in the Edit view detailed view.
Adding a translation
Prerequisite
Rolle Web Portal Operator
Procedure
-
To create language-specific entries, click
in the required row.The digit in the blue dot on the right above the icon indicates how many languages have already been translated.
If new translations have not yet been saved, the digit appears in a red dot.The Add translation dialog appears.

-
Enter the relevant translations.
-
To add the translations, click Save.
The entry is displayed for specific languages.
Configuring menus
Individual menu items in the menu can be shown or hidden.
|
The settings made here apply to all users in the same organization. |
Requirements
Web Portal Admin role
Procedure
-
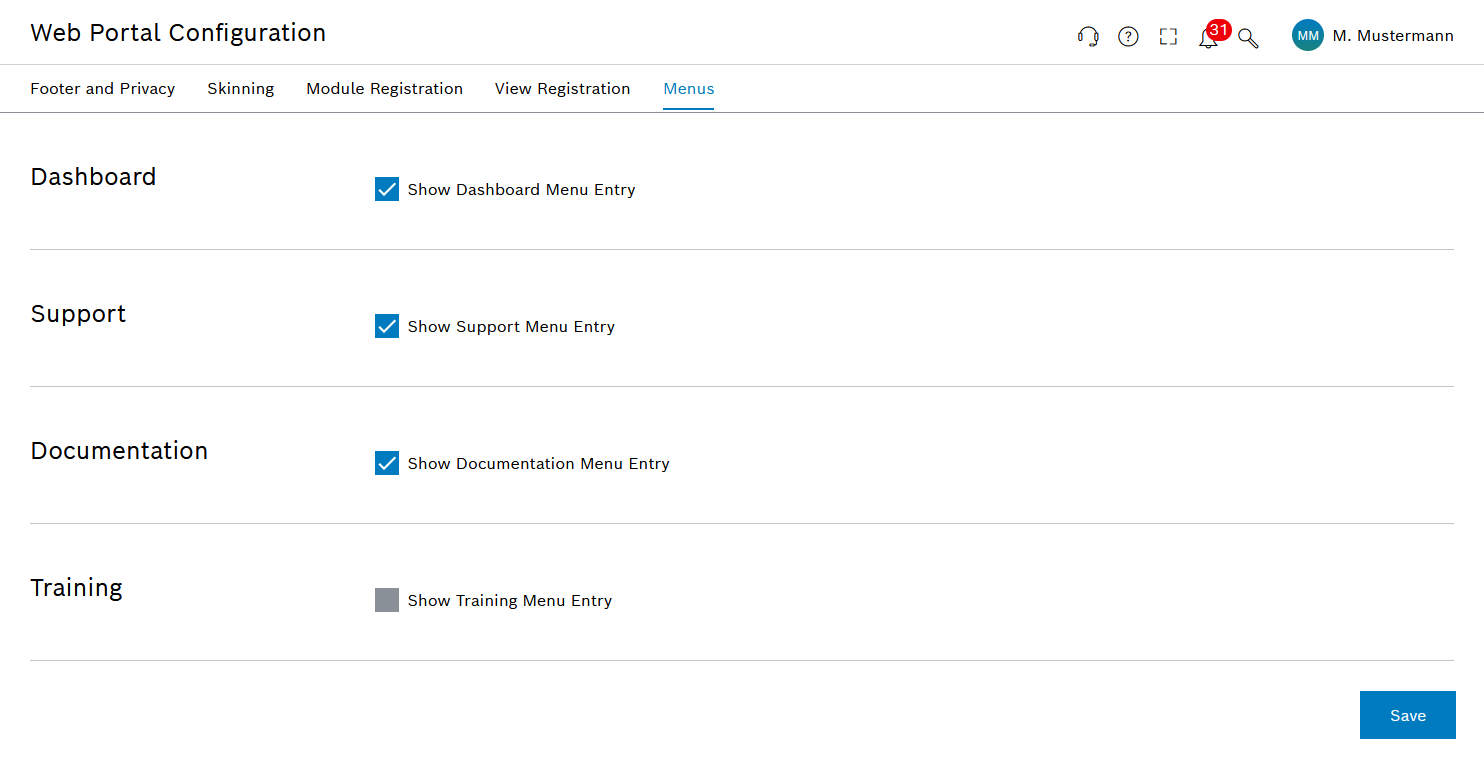
In the user menu, select the Web Portal configuration menu item and the Menus tab.
The overview of the menu items and their status appears.
-
Control the visibility of the menu items using the checkboxes:
-
Dashboard
Shows or hides the dashboard menu.
-
support
Shows or hides the support icon
 .
. -
Documentation
Shows or hides the Documentation menu item in the Help menu
 .
. -
Training
Shows or hides the Training menu item in the Help menu
.
-
-
Apply the changes with Save.
The user interface is adapted to the changed settings.
|
It may take a few minutes for the changes to the menus to be visible to all users. |