How to register your module and its views
There are two methods for integrating modules and views into Web Portal:
-
Via the UI for registering modules and views: Navigation entries will appear in the "Others" section in the menu.
-
Via Web Portal’s API: Navigation entries will appear in the managed section in the menu.
| Alignment with portfolio management may be necessary when placing menu entries |
A module in the Web Portal context serves as a container for views, widgets (for use on the dashboard), documents (such as disclosure documents) and contributions (for inter-module interactions).
Manual registration via "View Registration" UI
When registering views manually, these views will appear in a separate section in the menu ("Others").
Although this feature is intended for customers to provide additional custom web pages or local applications to their users, it can also be useful for testing purposes, such as testing if a web application can be embedded at all, or for local development without the need to register the module via API.
It is not suitable for deploying modules or views across multiple environments, as the views are stored per tenant and cannot be exported or shared.
To create custom views, the user must have the "Web Portal Admin" role assigned.
|
| The page to be embedded must allow for embedding. Refer to Limitations > Headers for more information. |
Create module container
-
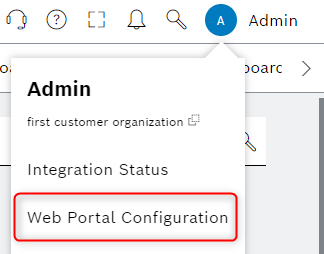
To begin, open the Configuration page from the user menu and navigate to the "Module Registration" tab.
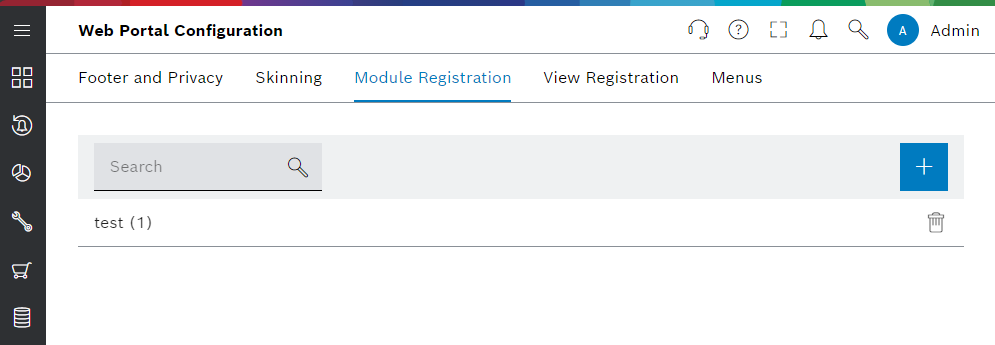
-
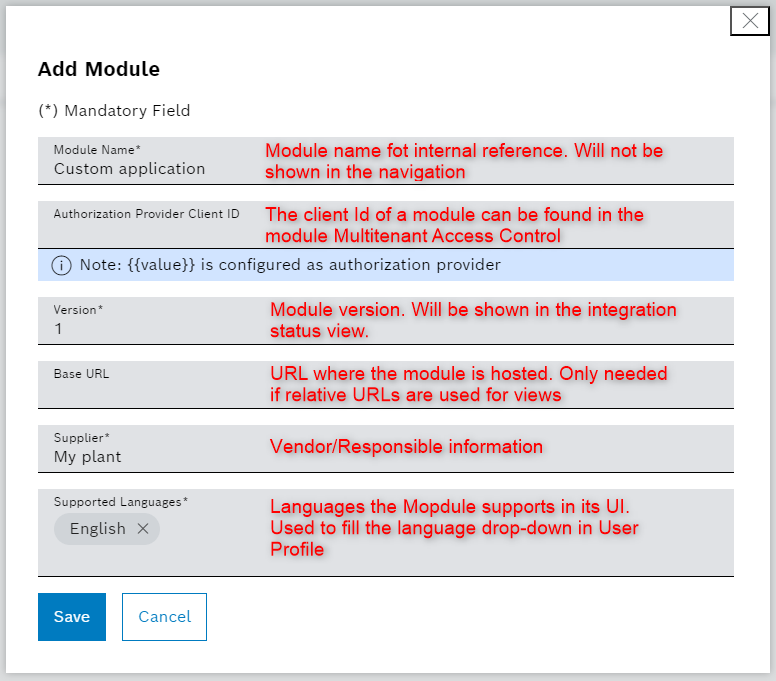
To add a new module, click the "add" button and complete the form with the required information.
Register views
-
To register views, switch to the "View registration" tab and click the "add" button.
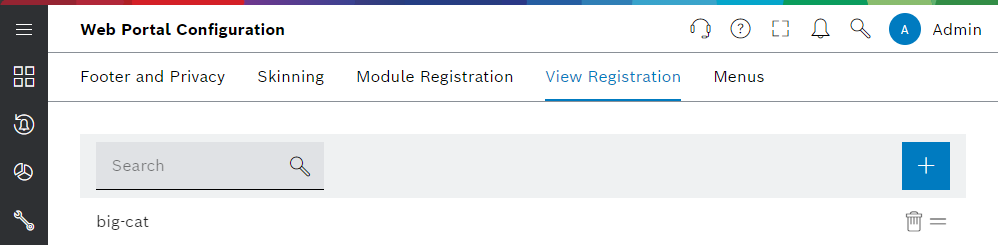
-
Complete the form with the necessary details and then save the changes.
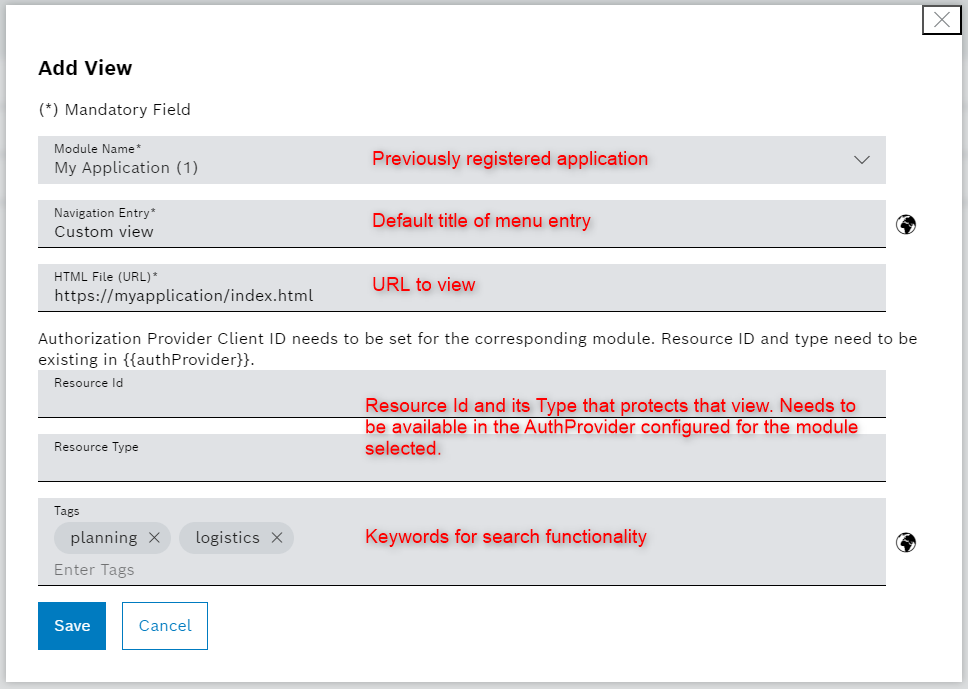
After saving the form, the view will appear in the navigation menu under the menu entry "Others". For the current user, the view will be immediately visible in the menu. However, due to caching, it may take several minutes for the newly created or changed views to be displayed for other users.
| In manual view registration, it is possible to provide a resource ID to apply authorization to a view. To apply authorization, the custom module needs to be onboarded in Multitenant Access Control. If no resource ID is set, the view will be visible to ALL users of the organization. |
Automatic registration via API (v3)
Prerequisites
-
Creation of your module at Multitenant Access Control (MACMA) with the "Web Portal Registration" role assigned.
-
Understanding of Multitenant Access Control concepts such as tenants, resources, roles, permissions, and token scopes/audiences
Registration Flow
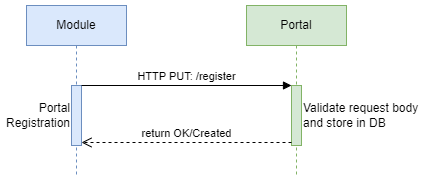
The registration is done in a single HTTP PUT: http://domain.com/api/core/api/v3/{tenantId}/registry/{moduleId} request, containing all the resources you want to register.
A full description of the API can be found in the registration API specification.
The single request contains all resources you want to register, including the module itself, views, widgets, documents, and contexts. If your module does not offer widgets, documents, or contexts, you must pass an empty array for these resources.
Each widget, context, view or document (except public api documents) must have a Multi-Tenant Access Control resource ID and type assigned. It’s important to set up the correct permissions in Multi-Tenant Access Control for the resources you want to register.
When the registration request is send, it will be immediately processed by Web Portal. If the request is valid, the module will be registered and the resources will be available in Web Portal. You can check the registration status in the Integration status page. If the registration request is invalid, the request will be rejected with details about the errors/issues. The registration request is validated as one transaction, meaning that if one resource is invalid, the entire request will be rejected.